You can use our ESE agent to backup and recover Hyper-V virtual machines. The agent will auto-detect if Hyper-V is present and running on the machine. From the Hyper-V view in the ESE user interface, VMs can then be included for host-level backup via VSS.
When backing up a Hyper-V virtual machine, we advise against a duplication scenario where the ESE agent is installed on the VM itself and the VM is backed up through the Hyper-V view on the host. Instead, select your backup strategy based on your operational needs. If you need to be able to recover a VM in its entirety, ESE should be running on the host machine. If you need to be able to do file-level recovery, we recommend installing an ESE agent on the VM itself.
How to backup
To add Hyper-V for backup, open the Hyper-V view in the sidebar.
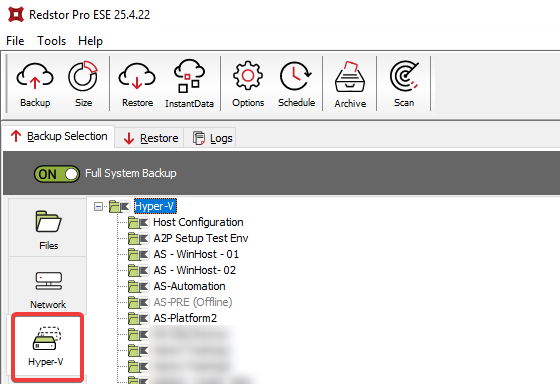
If Full System Backup (FSB) is enabled, all Hyper-V VMs are automatically included for backup, and you can use right-click > Exclude to exclude the ones you do not need to backup.

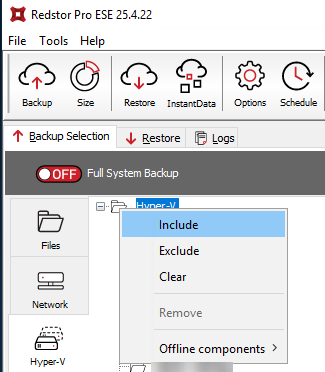
If FSB is not enabled, no VMs are included by default. Use right-click > Include to add VMs for backup.
How to recover
To recover a VM from a host, simply select the relevant VM in it the Hyper-V view and click Recover.
Note:
- If the VM has been deleted, it will be recovered to the original location. If the VM is still present, recovering will overwrite it.
- If the intention is to test DR, InstantData Temporary can also be used to copy the disk images.
- If you prefer not to have ESE installed on the VM, you can backup flat files (VHDX) using ESE on the host, as long as the flat files are closed and not in use. On hosts with Cluster Shared Volumes (CSVs), VSS should not be enabled in ESE, as VSS writers tend to present issues for backup in this scenario (ESE is not cluster-aware and will only work on the active side). Closed files can also be backed up via a network share.
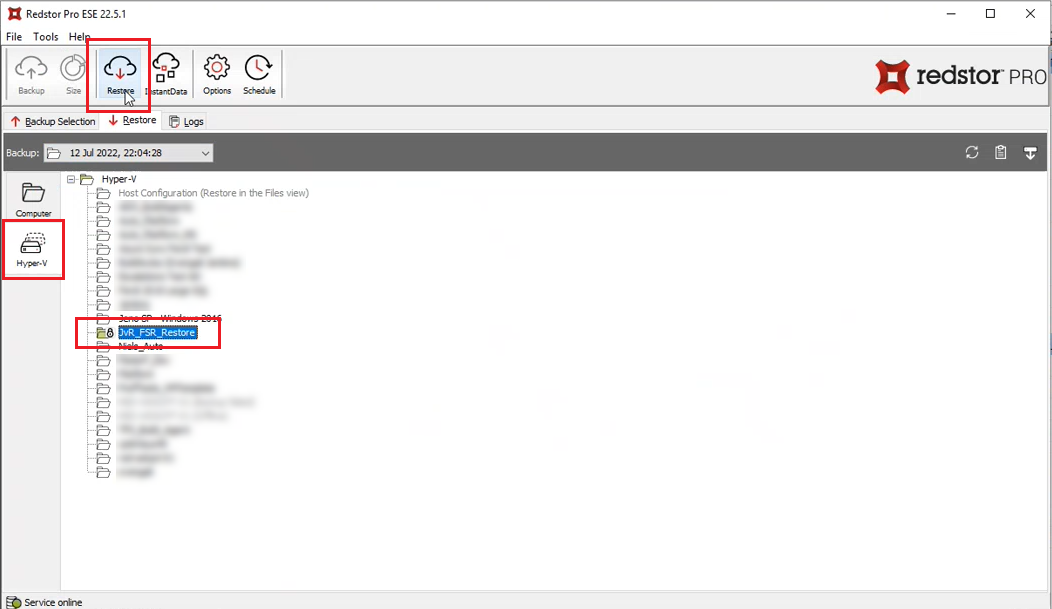
If you don't have the Hyper-V view visible on the host, you can still recover a VM manually using the steps below.
1. In the files view in ESE, select (include) the VM you want to recover. Make sure you select the highest folder structure level for the particular VM. Do not drill down and select individual files, as the disk file (VHDX), the descriptor file (VMDK), and the snapshot file (AVHDX) all need to be recovered together from and into the same location.
2. Click Recover.
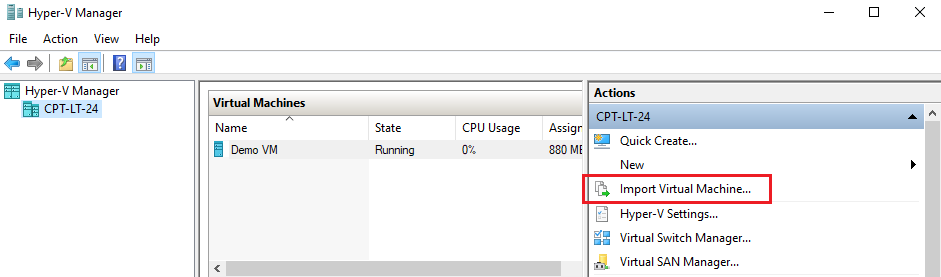
3. Once the recovery has completed, open Hyper-V Manager.
4. Go to Import Virtual Machine.
Click Next.
5. Point to the root folder of the location where you recovered the files, and click Next.
6. Follow the wizard, selecting options based on your needs.
Was this article helpful?
That’s Great!
Thank you for your feedback
Sorry! We couldn't be helpful
Thank you for your feedback
Feedback sent
We appreciate your effort and will try to fix the article