One of the ways in which you can use InstantData is to gain temporary access to your files. Read on for detailed instructions.
1. Open the InstantData application
There are three ways to access InstantData to recover a machine: directly from the ESE agent for the machine, through the RedApp, and through the Storage Platform Console.
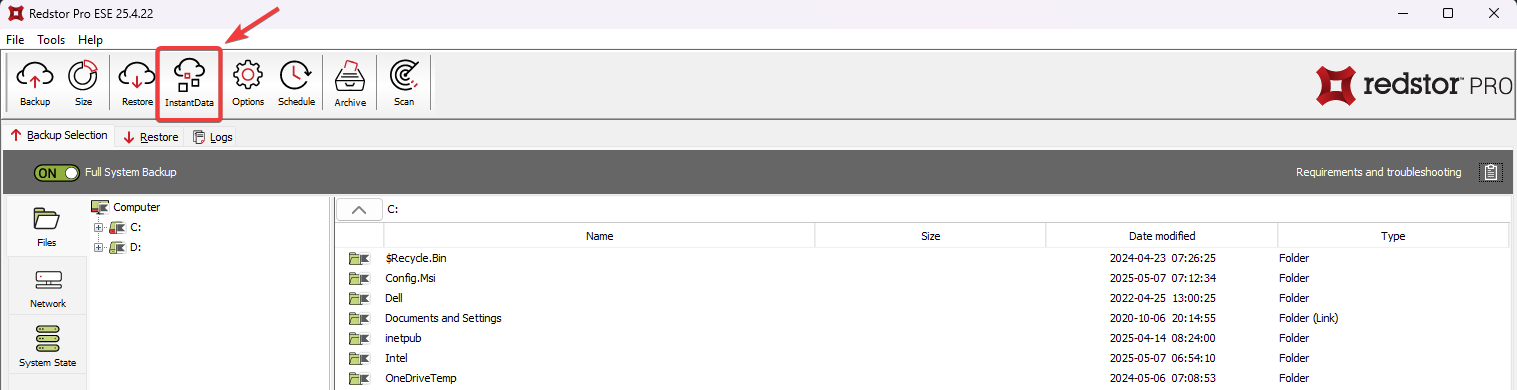
From the ESE agent on the machine you want to recover
Click on the InstantData button at the top of the interface.
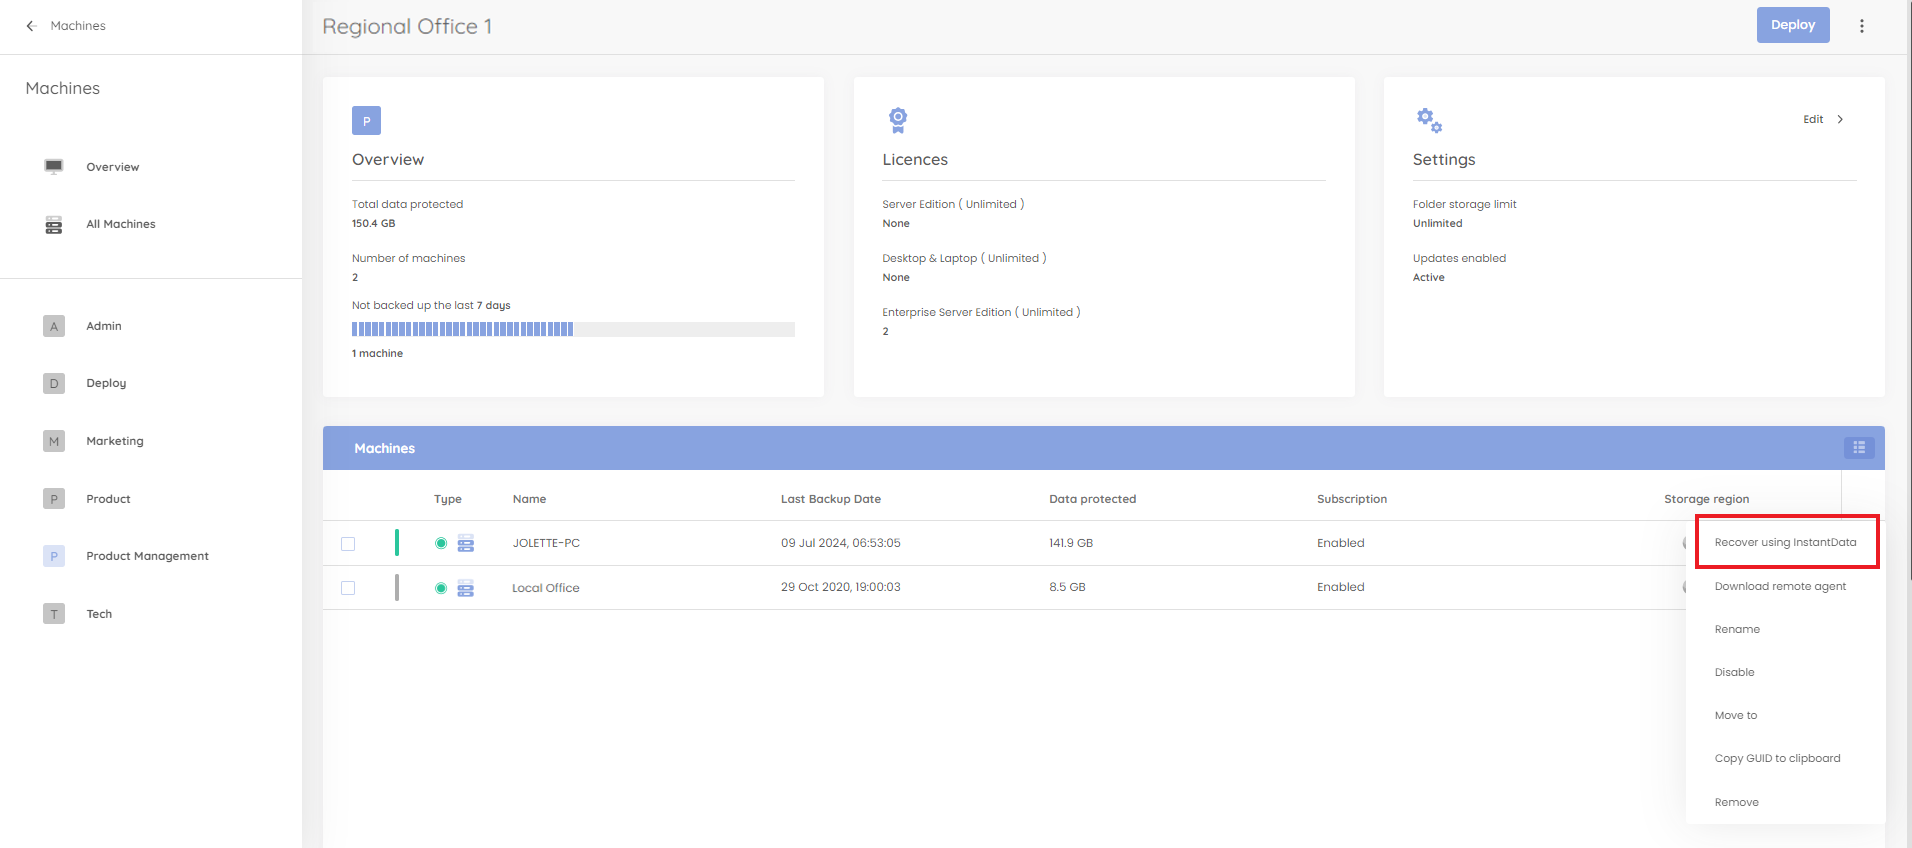
From the RedApp
Locate the machine you want to recover. Expand its menu on the right, and click Recover using InstantData.
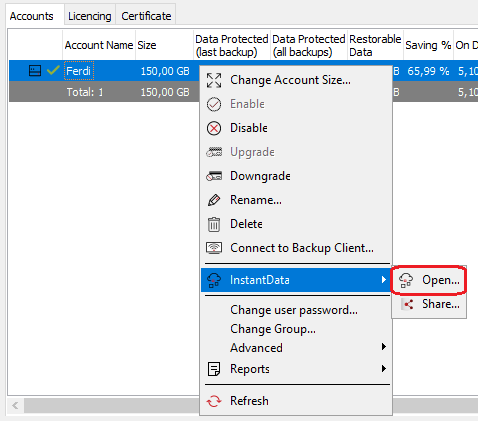
From the Storage Platform Console
Right-click the name of the account that your want to recover and click InstantData > Open.
2. Connect to the Account
When you first open InstantData Temporary, you will be prompted to install a driver from a third-party vendor (EldoS Corporation). This is required for the mounting of virtual data storage to work correctly. Read more in Article 1469.
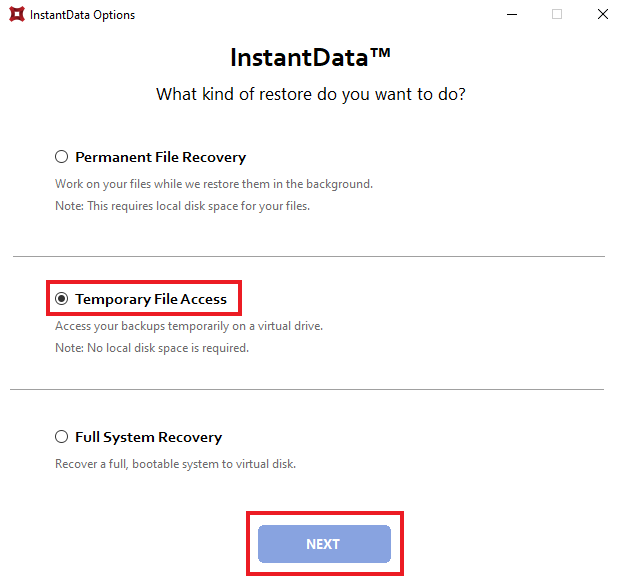
Once you have opened InstantData Temporary, select Temporary File Access and click Next.
Enter your security credentials and click Next.
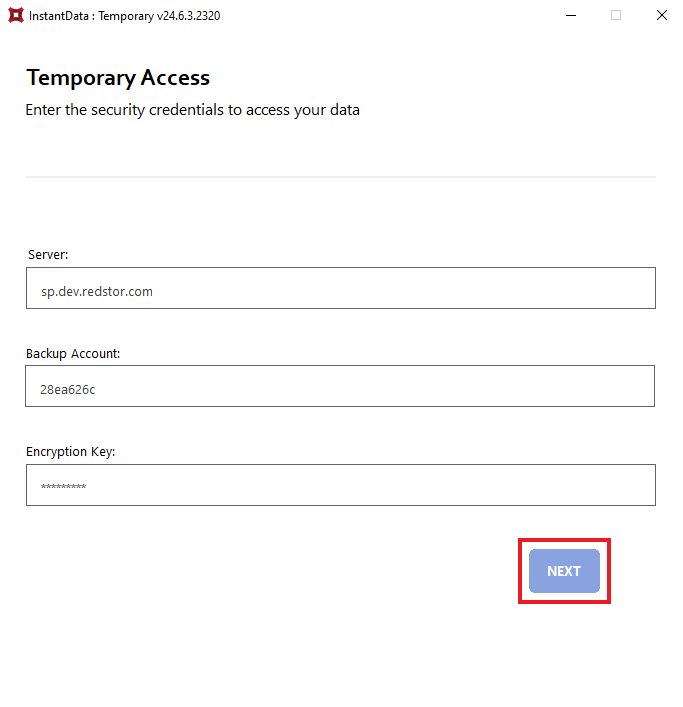
Note: The Account details will already be entered if you’re running the app from the SP Console, and won’t need to be changed.
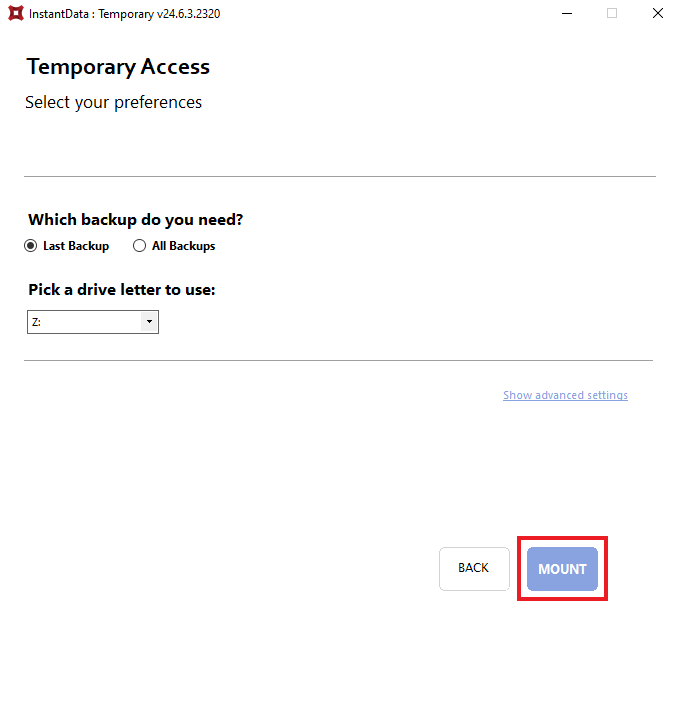
Select a backup to access and a drive letter to mount to. Then click Mount.
3. Recover your files
A notification will appear in your system tray confirming that InstantData has connected to your Account and the relevant backup data. The InstantData icon will also be visible.
The drive letter selected earlier can now be browsed in your Windows Explorer. You may view and update files as necessary for the duration of the current InstantData session.
For more complex scenarios, additional InstantData connections can be made by repeating the steps above. An additional icon will appear in the system tray for each connection made.
It is also possible to use InstantData Temporary with Microsoft's robocopy command. See Article 1553.
4. After using Temporary File Access
Follow one of the options below.
a. I’d like to keep the changes I made
Copy any modified files to an alternative location on a drive letter other than the one created by InstantData.
b. I’m done with the files
Ensure that no other application has any files open on the InstantData drive letter, then perform one of the following steps to disconnect InstantData from your backup and to stop using the app:
- System tray icon: Right-click the InstantData icon and select Unmount.
- Click the Safely Remove Hardware or Eject Media icon in the system tray.
(This option is only available if a backup was mounted as a removable disk.) - In the Console, right-click Restores in the Current Activity frame (bottom left corner) and select Cancel Task.
Was this article helpful?
That’s Great!
Thank you for your feedback
Sorry! We couldn't be helpful
Thank you for your feedback
Feedback sent
We appreciate your effort and will try to fix the article