You can use our Azure Mobility service to effortlessly migrate your backed-up physical machines into Azure.
PAGE CONTENTS
Requirements
Redstor requirements
- An Azure Mobility licence (read more here)
- At least one Full System Backup (FSB) of the machine
- If you are using the RedApp, follow these steps to deploy an agent for the machine you want to back up. Ensure that Full System Backup is switched on. Run a backup as soon as the agent has been installed.
- If you already have a desktop ESE Agent on the machine, switch on Full System Backup above the file explorer, then click Backup.
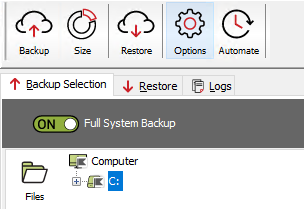
Note: When enabling FSB on an Azure Virtual Machine with a temporary disk, we recommend excluding the temporary disk from the backup selection. Read more here.
Azure requirements
- An Azure account with access to an Azure subscription (the user is required to authenticate with credentials that have permission to create resources in this subscription)
- A resource group for the virtual machine to migrate into
- A storage account in the subscription - this is needed for the following purposes:
- As a target for uploading the migration agent and for configuration into Azure. The resulting blob is then converted into a Managed Disk, which is used for starting the migration.
- As temporary storage for the the WinPE bootstrapper image. This is because we need to copy the image into the correct Azure region before we can convert it into a Managed Disk.
- We also use the Storage Account's Azure region and resource group for creating the new VM.
- A virtual network for the machine to run on (which can connect to the internet), and a virtual network subnet - these are needed to connect out to the Storage Platform during the migration, and for virtual machine connectivity when the migration is completed.
How to migrate a machine to Azure via the RedApp
- Go to Machines in the sidebar.
- Drill down to the machine you want to migrate.
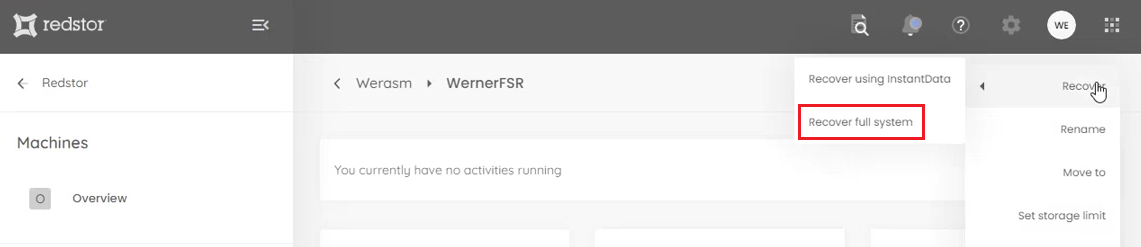
- On the machine's main page, click on the menu icon and go to Recover > Recover full system.
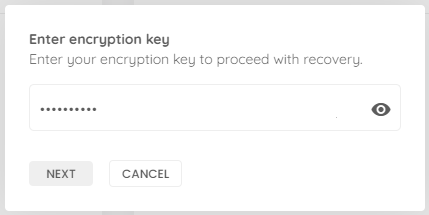
- Provide the encryption key for the account and click Next.
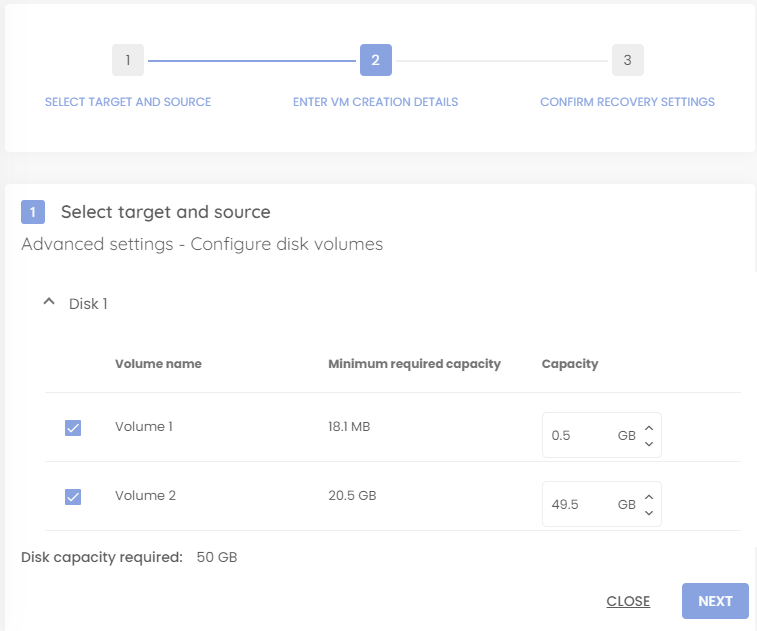
- Select the backup you will use for migration purposes from the drop-down menu. Click Next to continue, or open Advanced settings to configure the disk volumes first.
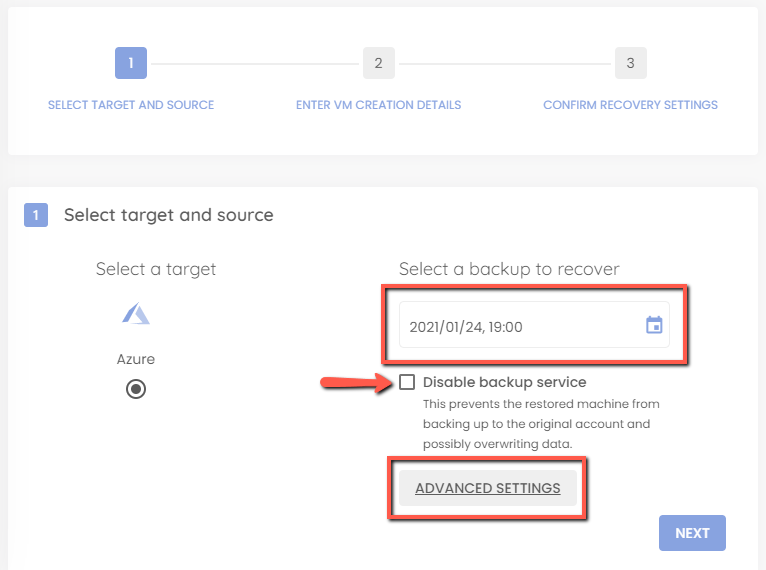
Note: Tick Disable backup service if the original machine is still running an active backup account. - If desired, configure the disk volume sizes and selection. Click Next.
- To allow the migration to proceed, sign into your Microsoft Azure account and accept the permissions.
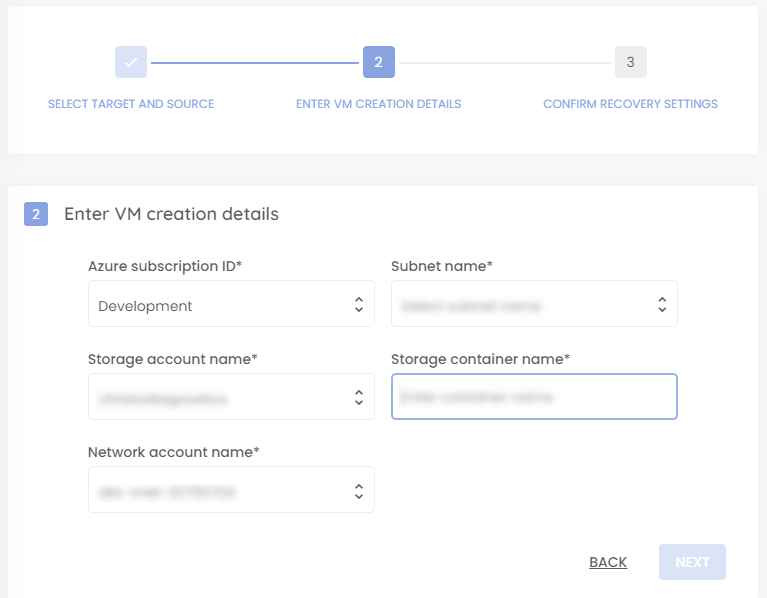
- Provide the specifications for the virtual machine that will be created to migrate into, then click Next.
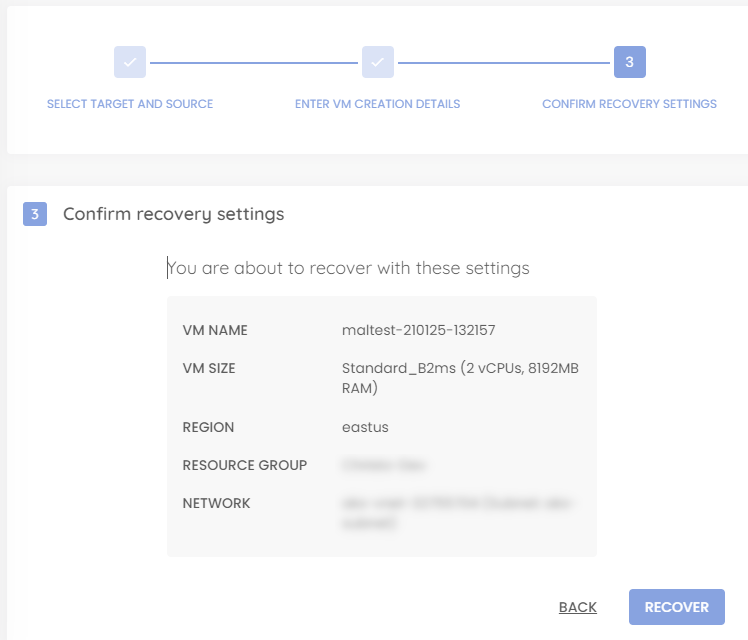
- Confirm the VM details and click Recover.
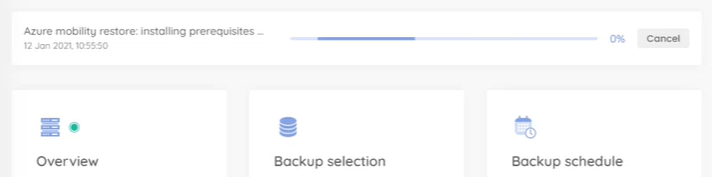
- A recovery will now be queued which will migrate the machine into Azure. You can monitor the progress of the migration from the machine's main page.
- When the migration completes, the newly created virtual machine will be stopped. Restart it from the Azure portal to access the data that has been migrated.
Post-migration Windows RDP
Because of the number of ways of configuring connectivity to a migrated VM, the VM will initially only be assigned a private IP. Note that this only applies to Windows machines. There are two options if you want to RDP to the migrated machine:
- Assign a public IP to the VM: https://docs.microsoft.com/en-us/azure/virtual-network/associate-public-ip-address-vm
- Create a VPN into Azure in order to access the VM: https://docs.microsoft.com/en-us/azure/vpn-gateway/create-routebased-vpn-gateway-portal
Was this article helpful?
That’s Great!
Thank you for your feedback
Sorry! We couldn't be helpful
Thank you for your feedback
Feedback sent
We appreciate your effort and will try to fix the article