Introduction
Backing up and restoring Salesforce forms part of our cloud service offering. To use the service, you need to be both a RedApp company administrator, and a system administrator for your organisation.
Watch our video below to learn more.
What is supported?
We only support Salesforce editions that have API access. You can find more information on API access in this article on the Salesforce knowledge base. Editions with API access include:
- Enterprise Edition
- Unlimited Edition
- Developer Edition
- Performance Edition
The following Salesforce editions do not have API access and are therefore not supported:
- Group Edition
- Essentials Edition
- Professional Edition
Redstor currently supports backup and InstantData recovery of:
- Standard objects (as per this article on the Salesforce knowledge base)
- Custom objects (as per this article on the Salesforce knowledge base)
- Metadata
For a list of objects that are currently not supported, see Article 1589.
Guides
Use the guides below to manage your Salesforce backups.
How to add a backup set
1. On the RedApp home page, go to My Company or to the relevant customer company.
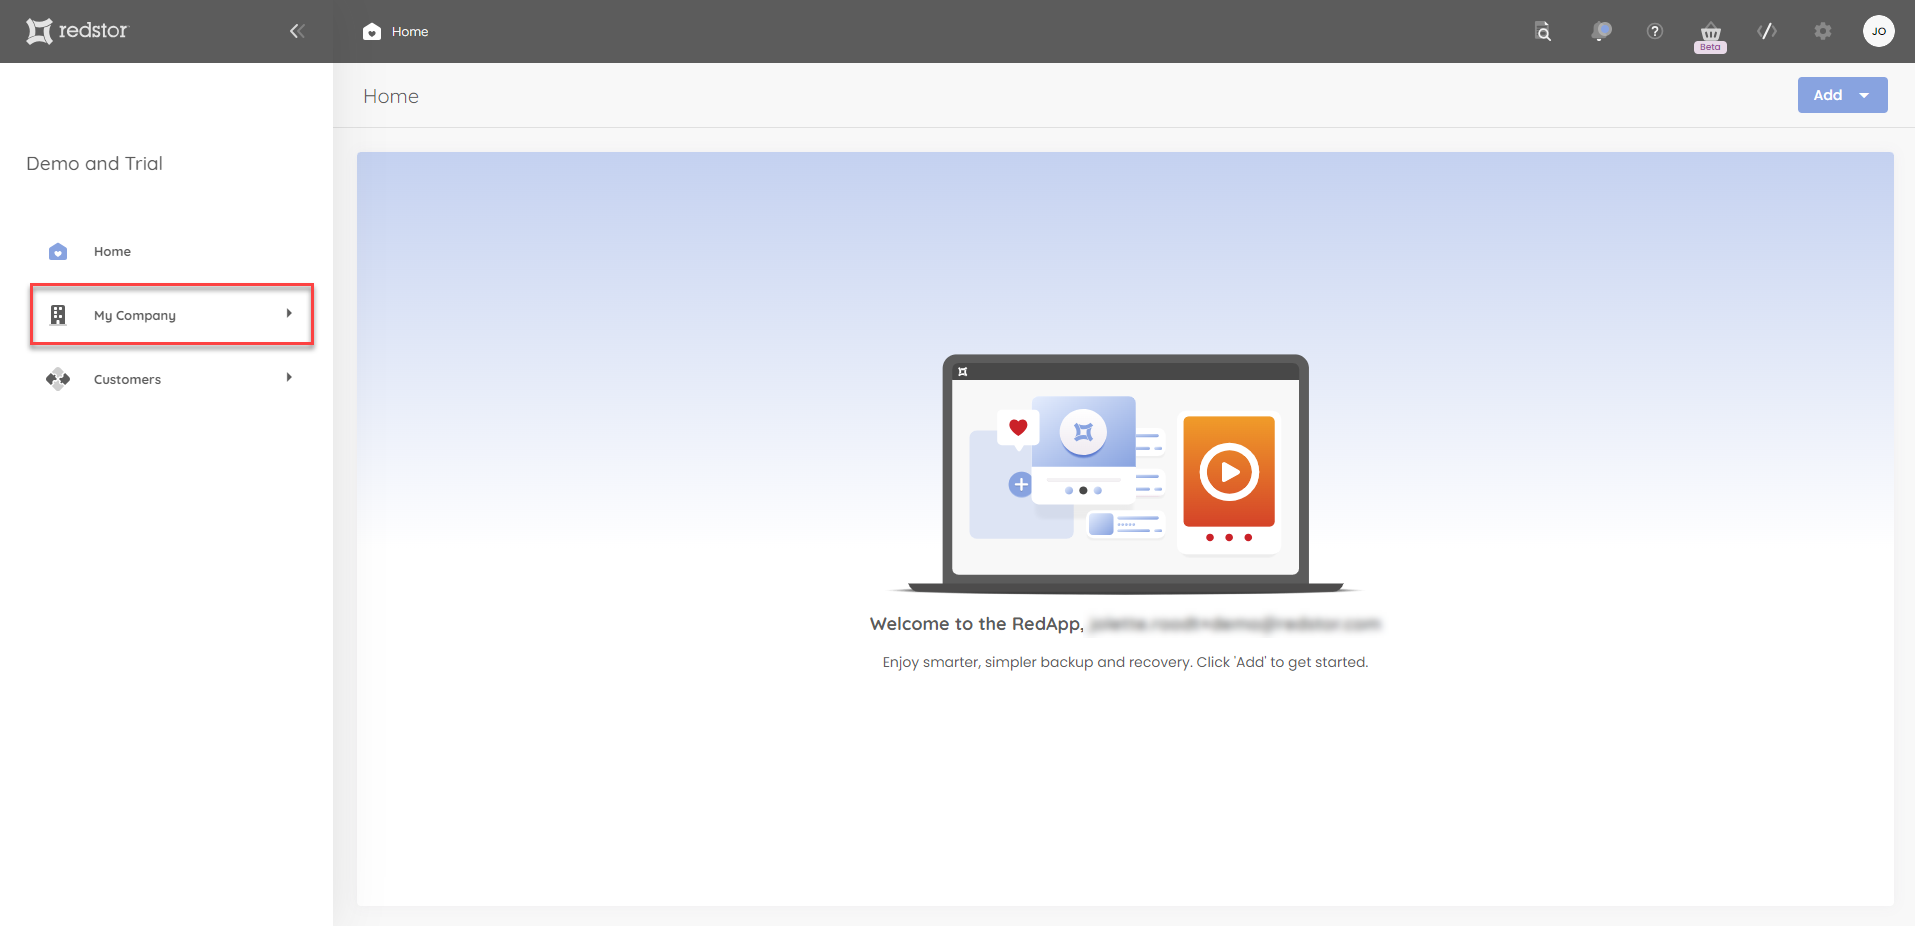
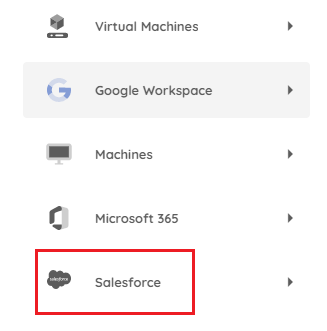
2. Go to Salesforce in the sidebar on the left.
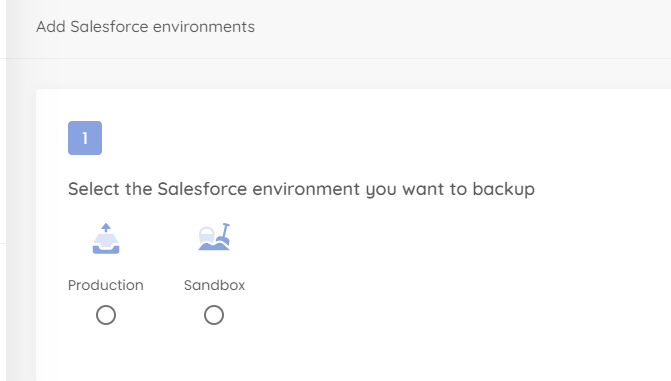
3. Click Add at the top right.

4. Select the environment you want to back up.
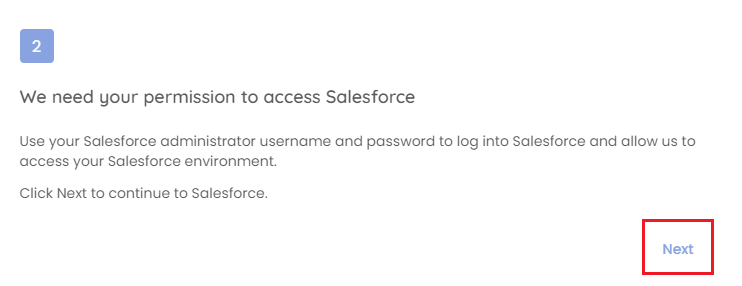
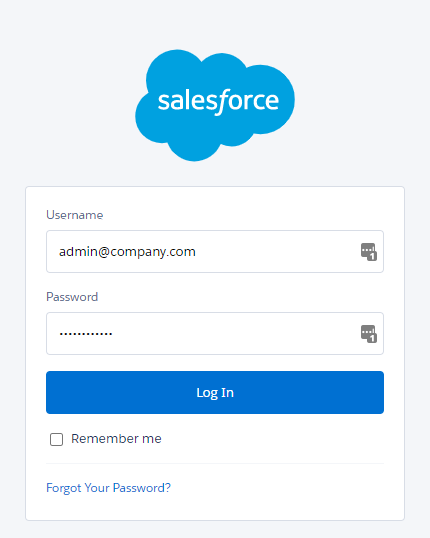
5. You will now need to sign into Salesforce. Click Next to proceed.
6. Allow the requested access.
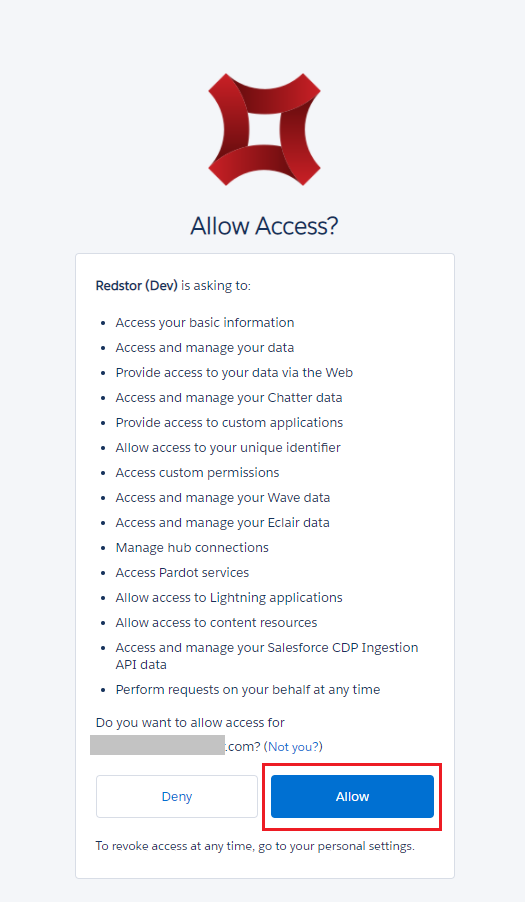
Note: If you need to later revoke Redstor's permissions for whatever reason, please see this article from the Salesforce knowledge base.
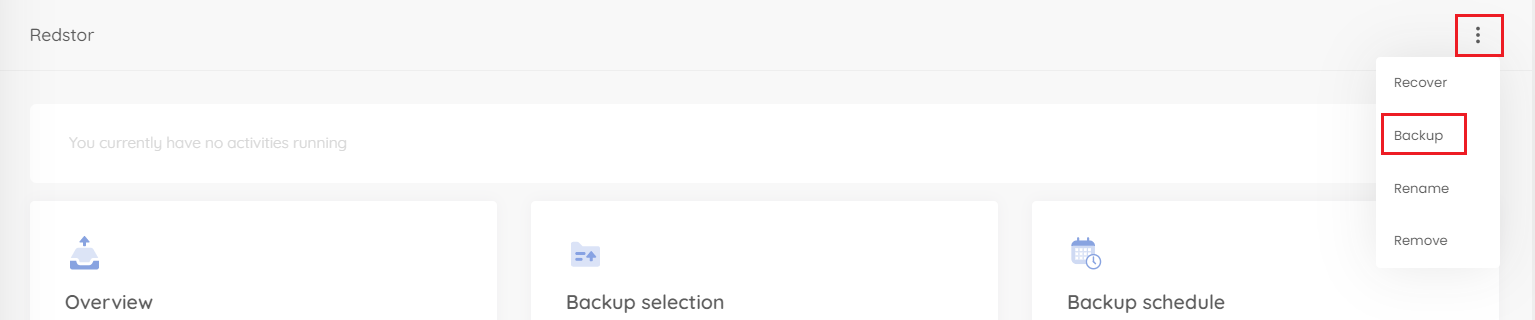
7. Back on the RedApp, click on the name of your backup set in the sidebar to the left.

8. To start a backup of this data, click the menu icon on the right and go to Backup.
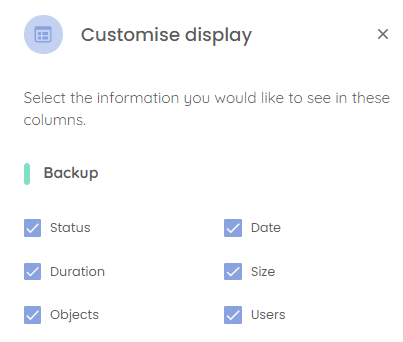
You can customise which columns you see on the backup set home page by going to Customise display.

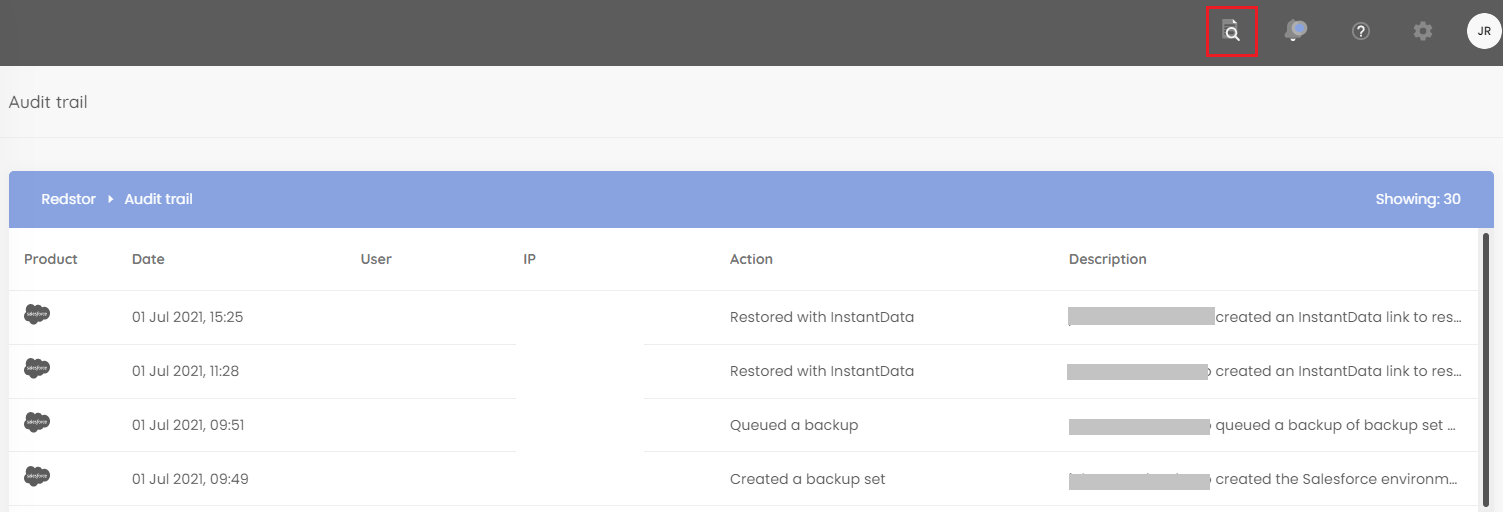
You can also view an audit trail of key actions and which users performed them by clicking on the inspect icon at the top right of the page.
How to configure the backup schedule for a backup set
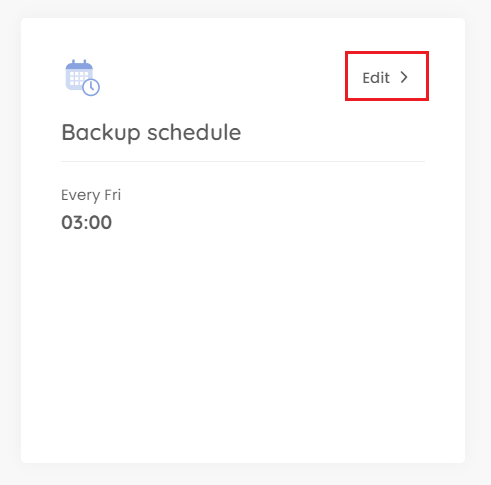
1. On the home page for the relevant backup set, click on Backup schedule > Edit.
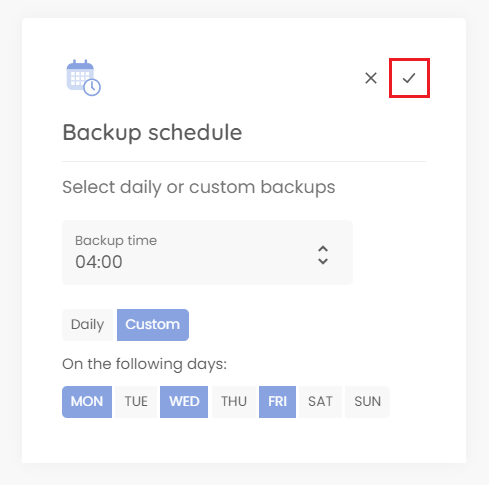
2. You can retain the default of a single daily backup, or you can set your backups to only run on specific days (custom). In either case, use the drop-down menu to set the backup time. Set your preferences and click on the check mark.
How to recover a backup set
The steps below will import your protected data to a new tenant.
1. On the home page for the relevant backup set, click on the menu icon and select Recover. You will need to authenticate before proceeding.

An InstantData link will be generated that can be used to recover the data.

2. Use the icons on the right to either copy the link for sharing or download the InstantData agent directly onto the machine where you want to recover the data. Each agent can only be used to initiate one restore.
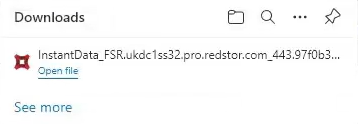
3. Run the application.
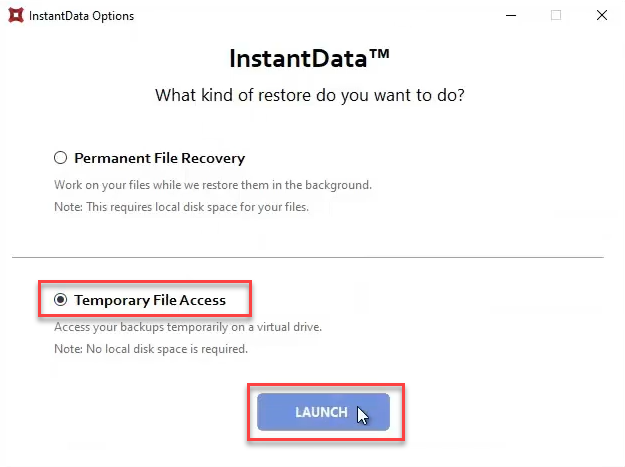
4. Select Temporary File Access and click Launch.
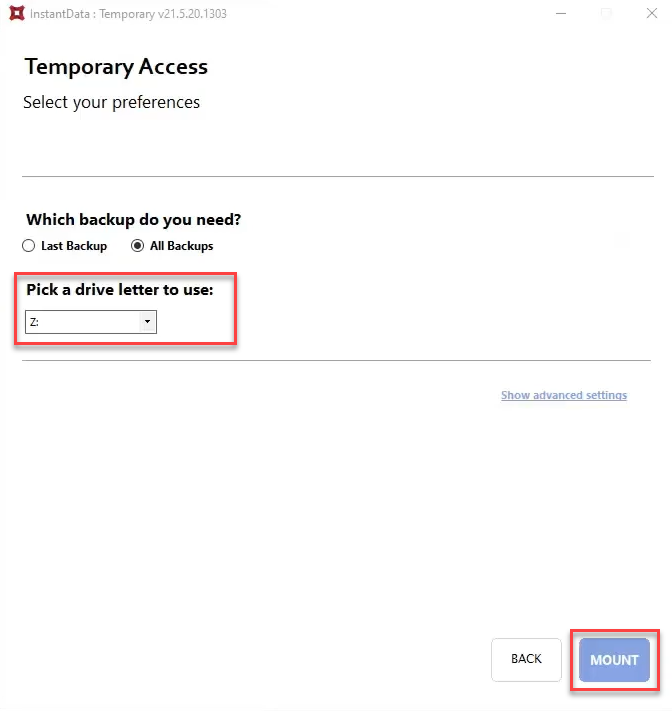
5. Pick a letter to use for a temporary recovery drive and click Mount. In this example we are using Z:.
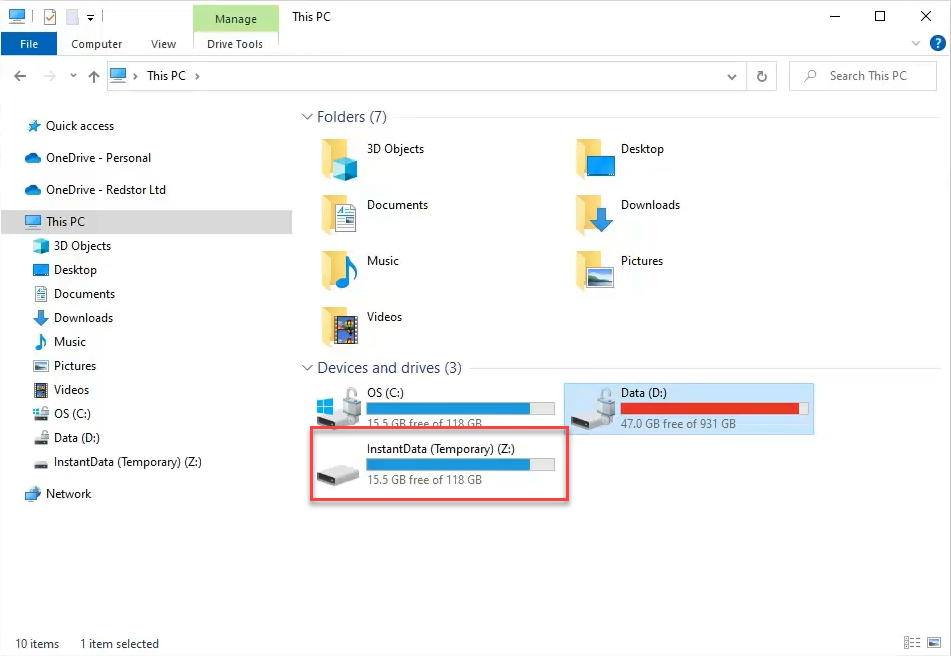
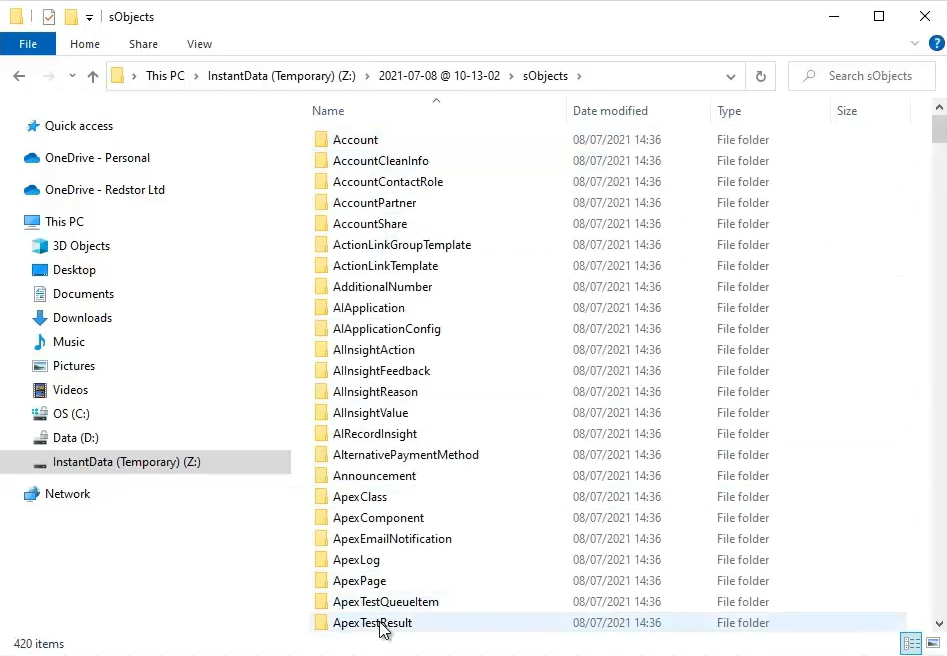
This drive will appear in your File Explorer, containing the recovered files. The data will be in CSV format.
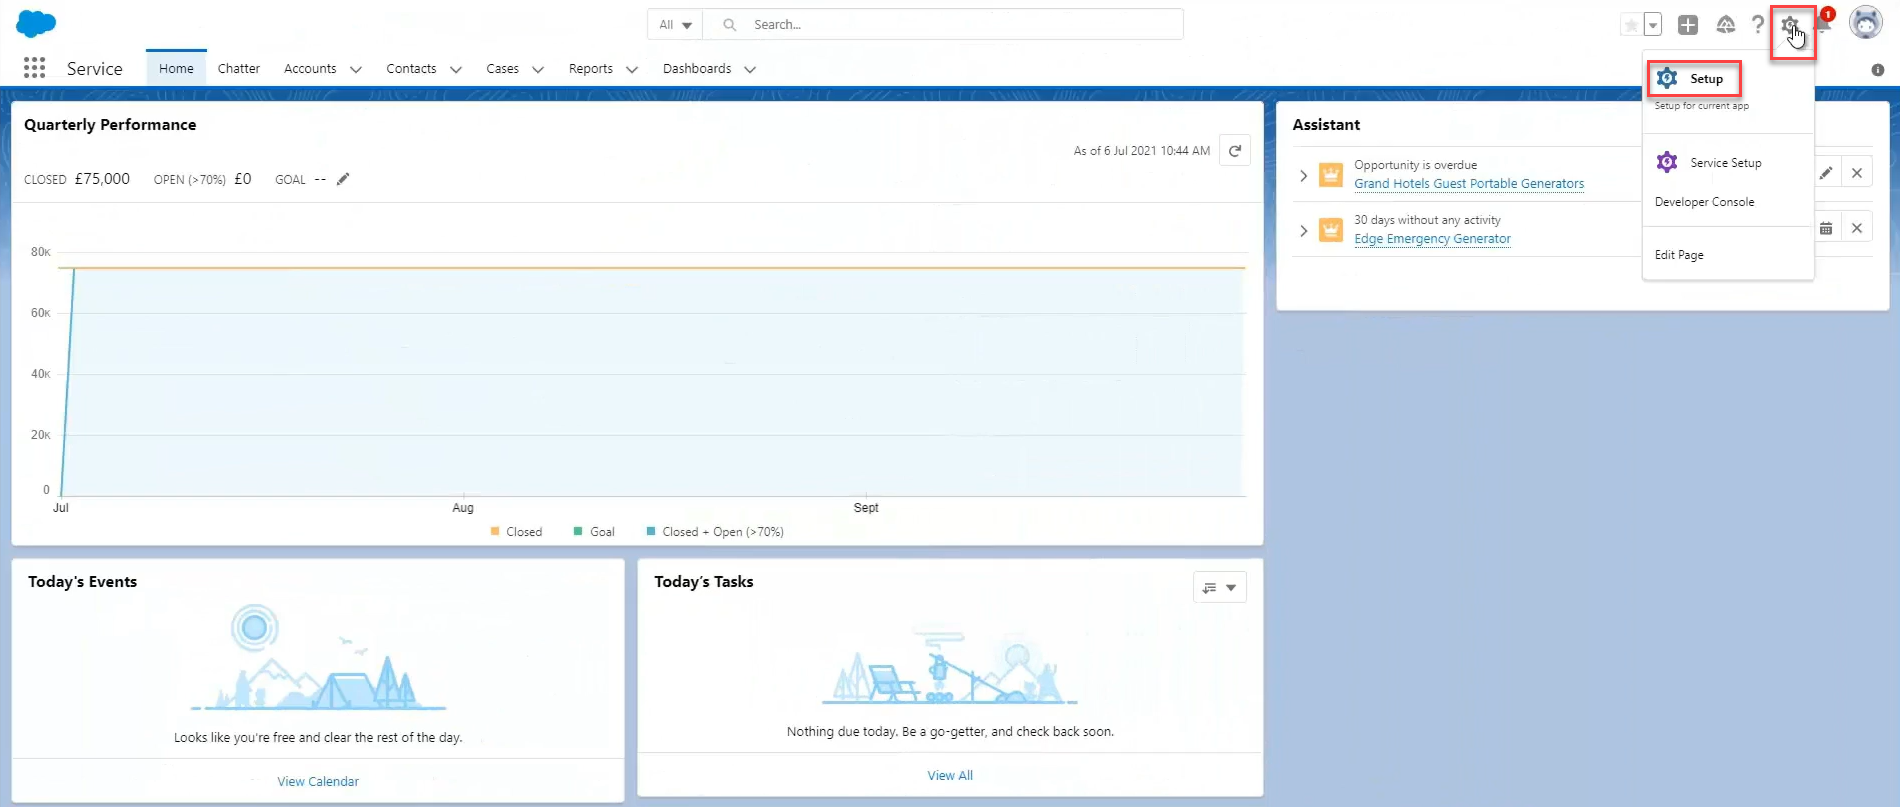
6. To import these files, open Salesforce.
7. Click on the settings icon and go to Setup.
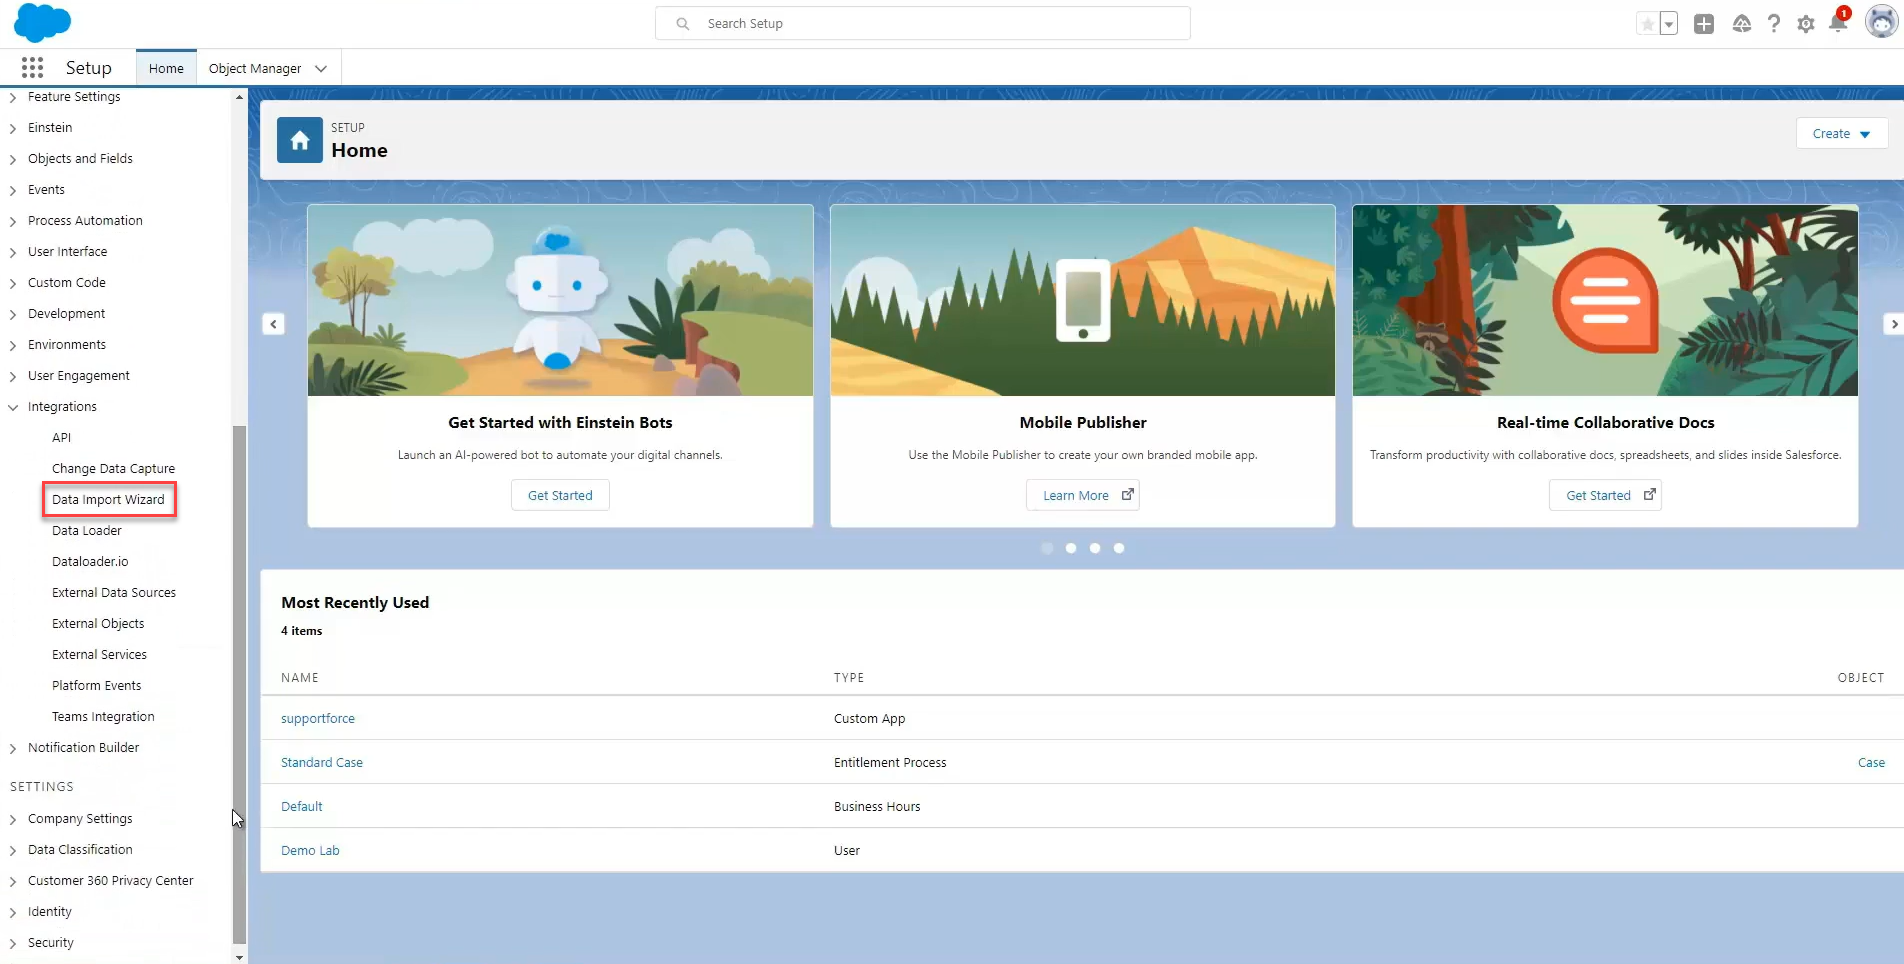
8. Under Platform Tools, click on Integrations, then Data Import WIzard.
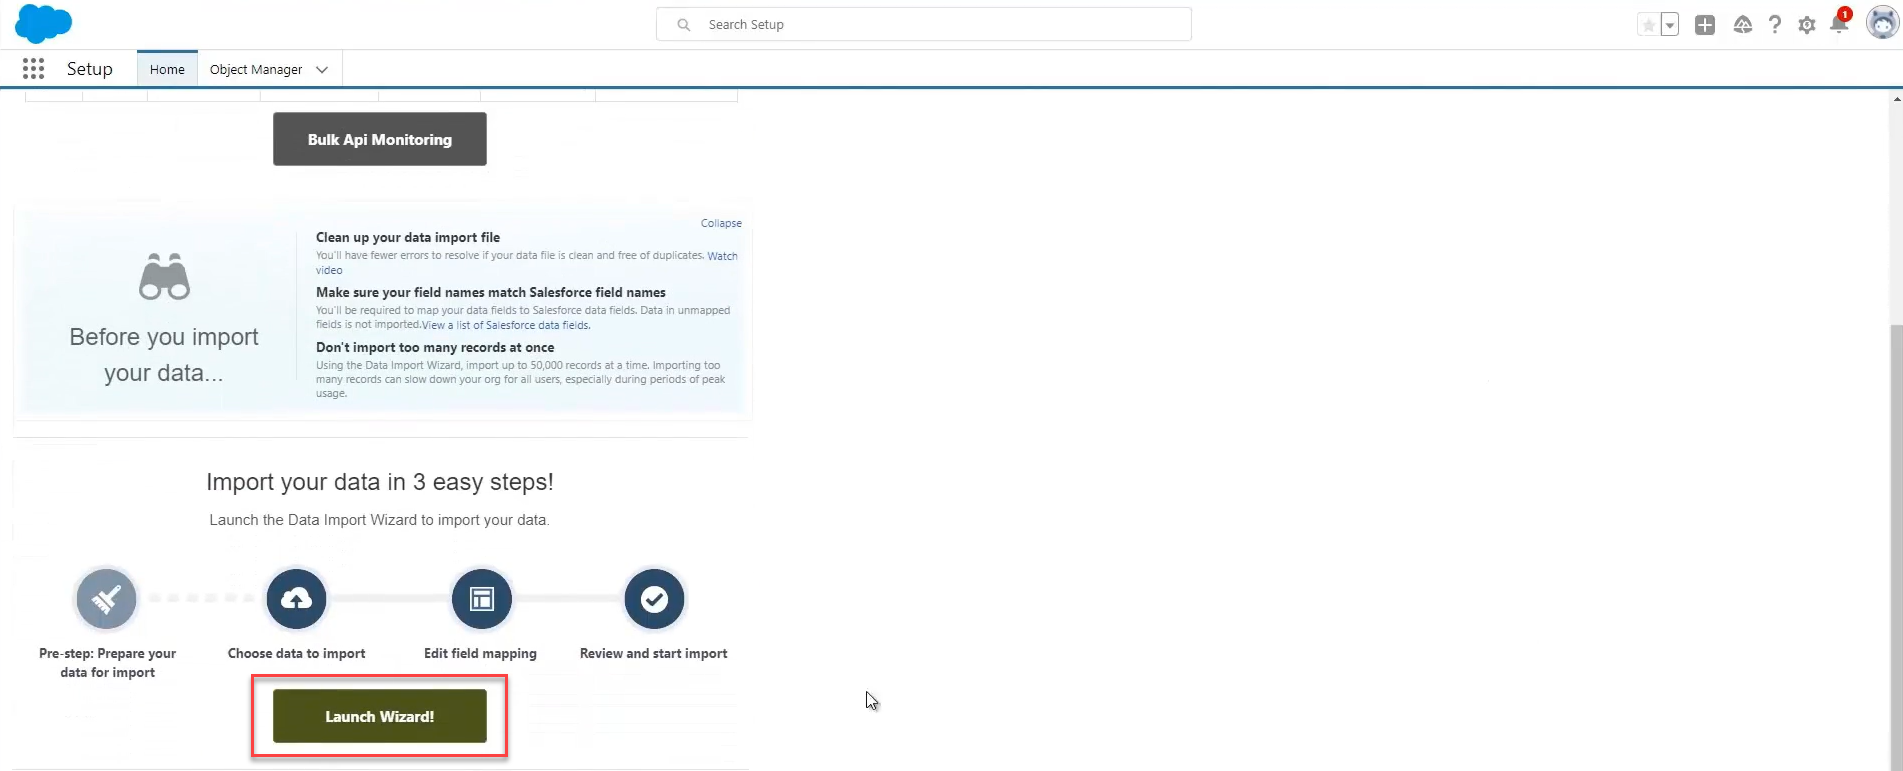
9. On the screen that appears, click Launch Wizard!.
10. Go to Accounts and Contacts > Add new records.
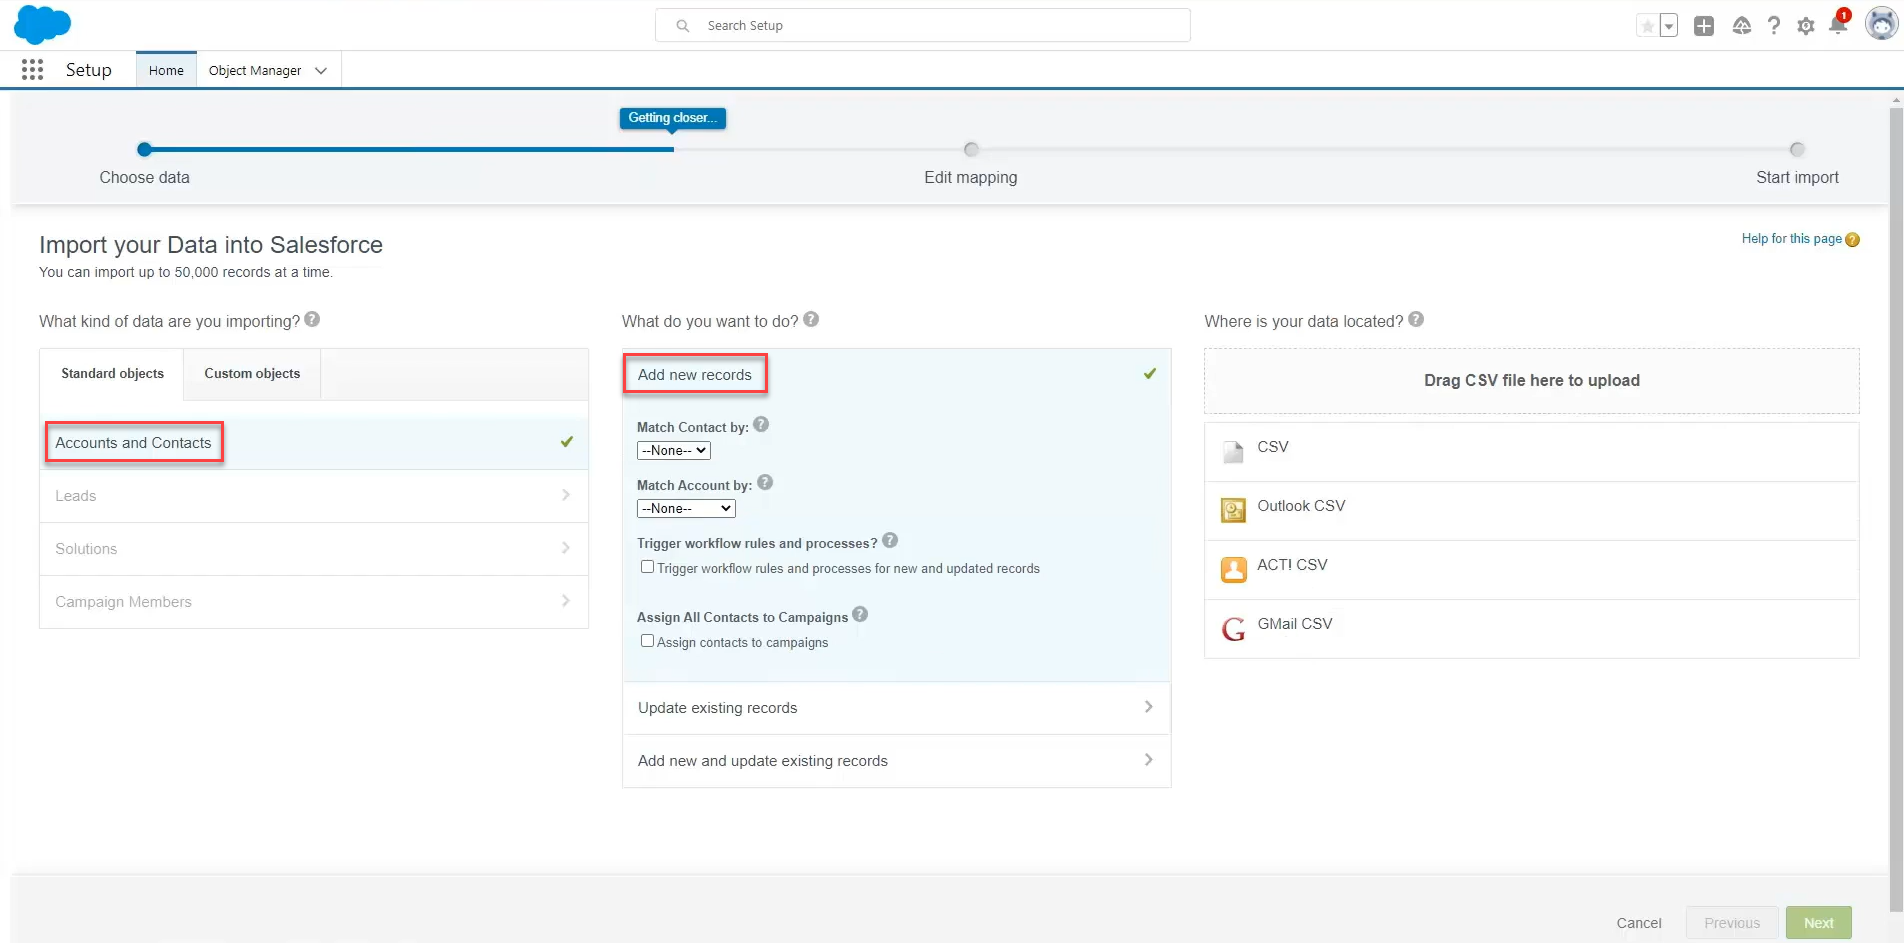
11. Upload the accounts.csv file located in the folder Z:/[backup date]/sObjects/Accounts, then click Next. You can then monitor the progress of your import from the Bulk Data Load Jobs page in Salesforce.
How to delete a backup set
Note: This will delete all backed-up data for this backup set. This can only be undone within the first 336 hours (approximately 14 days) after deletion. To request an undelete, please log a ticket with our support team.
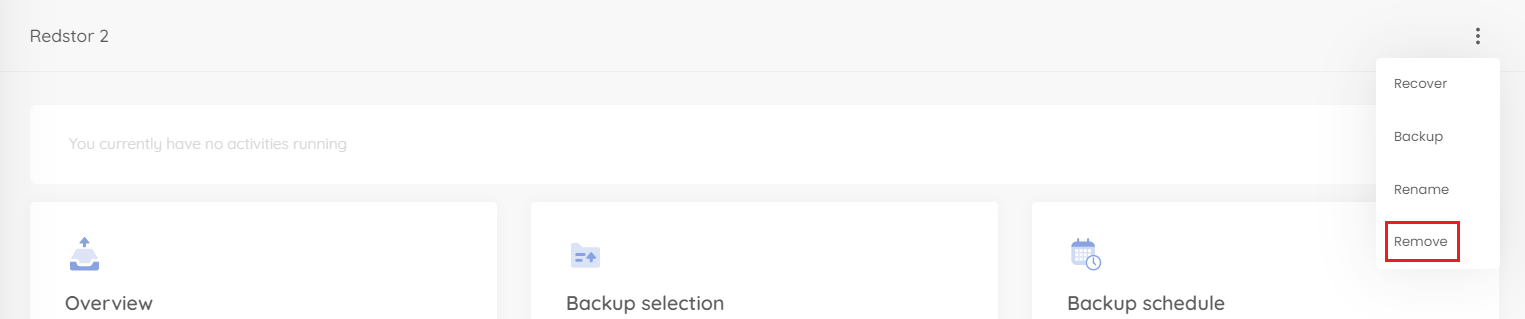
1. On the home page for the relevant backup set, click on the menu icon to expand more options, then click Remove.
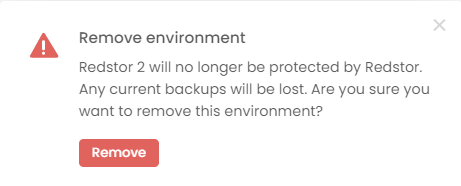
2. Confirm the deletion by clicking Remove.
How to change a backup set's name
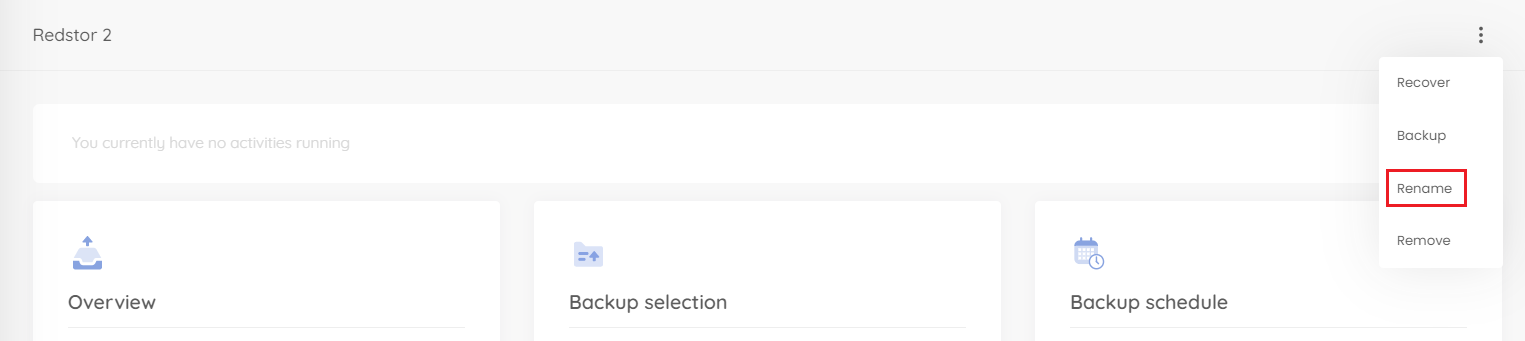
1. On the home page for the relevant backup set, click on the menu icon to expand more options, then click Rename.
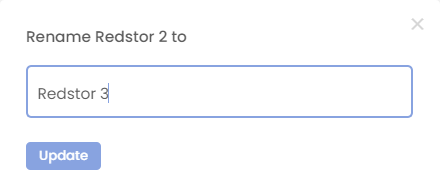
2. Enter the new name for the backup set and click Update.
Was this article helpful?
That’s Great!
Thank you for your feedback
Sorry! We couldn't be helpful
Thank you for your feedback
Feedback sent
We appreciate your effort and will try to fix the article