PAGE CONTENTS
Introduction
Backup and recovery of Gmail forms part of our Google Workspace service offering. Watch our video to learn more.
Note:
- To use the service, you need to be both a RedApp company administrator, and a Google super administrator for your tenant organisation. Read more about Google Workspace admin roles in this article on their knowledge base.
- Google recommends creating a new super admin email address for this that is not specific to a particular user. Read more here.
- Important: If a Google Workspace user leaves your organisation, do not delete the user. Redstor has no way of restoring a deleted user's Contacts or Calendar. Gmail can be restored to a different account. If you withdraw the departing user's Google Workspace licence, even if you do not delete the user, Google is under no obligation to retain that user's data. The data may appear to remain present but can be removed by Google at any time as part of cleanup. Consider assigning an archive licence or exporting the data for alternative storage instead.
What is supported?
Redstor currently supports the following:
- Backup of messages (including archived messages, spam, trash and attachments)
- Backup of labels
- Recovery back to Gmail (new folder)
- Single item recovery
Guides
Use the guides below to manage your Gmail backups.
How to add a backup set
Watch our video or follow the steps below.
1. In the RedApp, go to the home page for the customer company you want to add backups for. Click on the search icon at the top right to find a specific customer.

2. To add a new backup set, go to Google Workspace in the sidebar on the left. If you do not see Google Workspace listed, you will need to add it as a product.

3. Click Add at the top right and go to Add backup set.

4. Select Gmail and click Next.

5. After logging into Google, you will see the following screen. Click on Get the Redstor app.

Note: If you are an existing customer, you will see a different screen, requiring to you update your permissions instead.
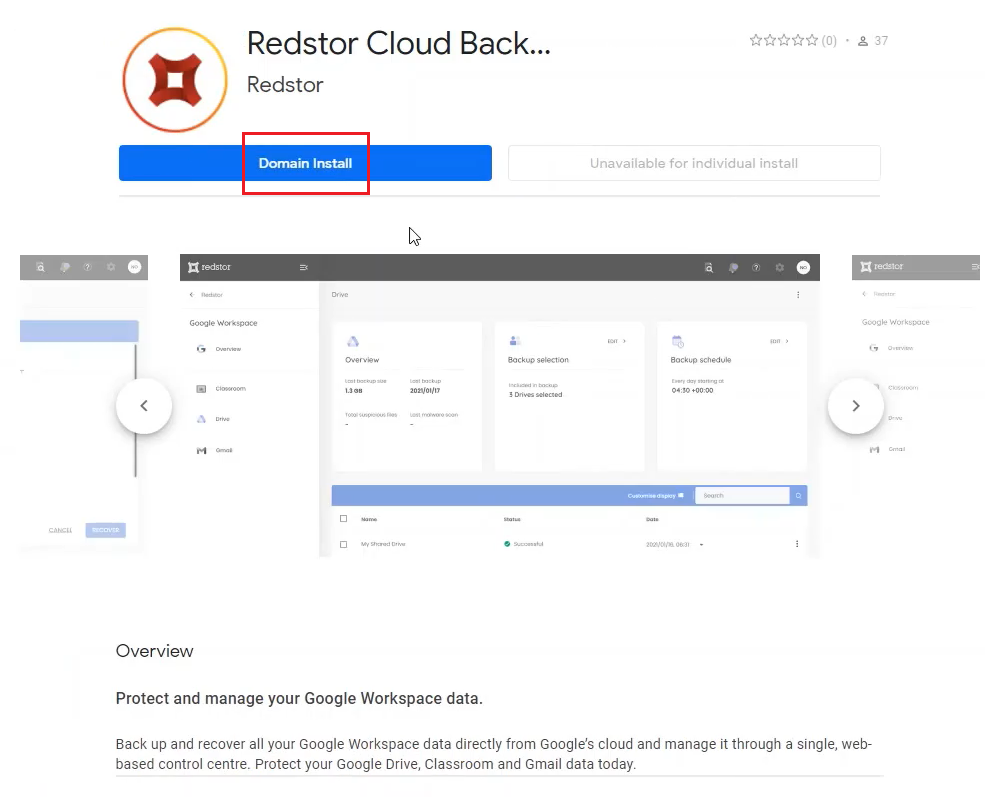
6. You will be taken to the Redstor Cloud Backup page on the Google Marketplace. Click on Domain Install.
7. Click Continue.

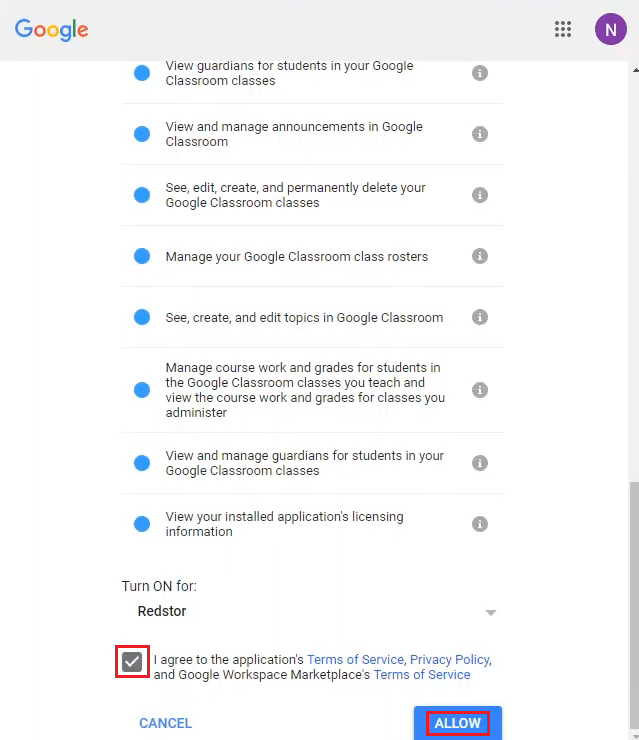
8. Agree to the terms and conditions and click Allow.
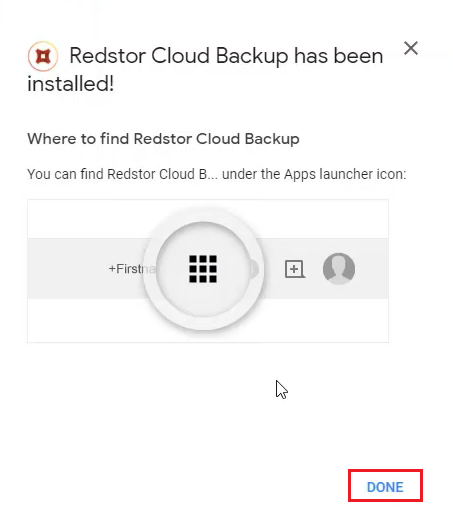
9. Click Done to exit the installation wizard.
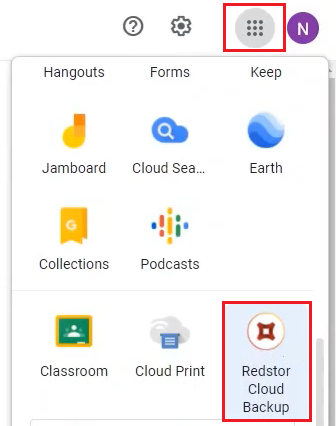
As shown here, you can access the app at any time by going to the App Launcher at the top right of the screen. (Scroll down until you see Redstor Cloud Backup.)
10. Close the Google Marketplace tab in your browser to return to the RedApp. Our system will have picked up that permissions have been allowed, and you will be taken to the home page for your new backup set.
11. Go to Edit on the Backup selection card.

12. By default, all users (mailboxes) will be selected for backup. To retain this selection and proceed, click Save. You can also enable Include new accounts to ensure that future additions to this tenant are automatically added to the backup selection.

To queue a backup immediately, click on the menu icon at the top right and go to Backup.


Select which columns you would like to see, then click Apply.

To view an audit trail of key actions and which users performed them, click on the inspect icon at the top right of the page.

How to edit a backup set
1. On the backup set home page, go to Edit on the Backup selection card.
2. Select/deselect the user/s you want to add/remove and click Save to apply your changes. Click Go back or Cancel to keep your existing selection.
The new number of users selected will show under Backup selection on the backup set's home page.
Note: Accounts that have been removed from the backup selection are still retained on the Storage Platform until you permanently delete them using the Storage Platform Console. Read more in Article 1384.
How to configure the backup schedule for a backup set
1. On the home page for the backup set, click on Edit on the Backup schedule card.
2. You can retain the default of a single daily backup (Daily), or you can set your backups to run only on specific days (Custom). In either case, use the drop-down menu to set the backup time. Set your preferences, then click on the check mark at the top right to apply them.


The Backup schedule card will now show the updated backup time/s.
How to recover a backup set
To do a recovery, you need to be both a RedApp company administrator, and a Google Workspace super administrator for your tenant organisation. Read more about Google Workspace admin roles in this article on their knowledge base.
Note:
- You will need to authenticate before any recovery.
- Original timestamps, metadata and permissions will not be restored.
Watch our video or follow the steps below to start recovering.
1. Select data for recovery
In all cases, you will need to select the user/s or item/s you want to recover, as well as the backup (date) you want to recover from.
There are different ways you can select data for recovery.
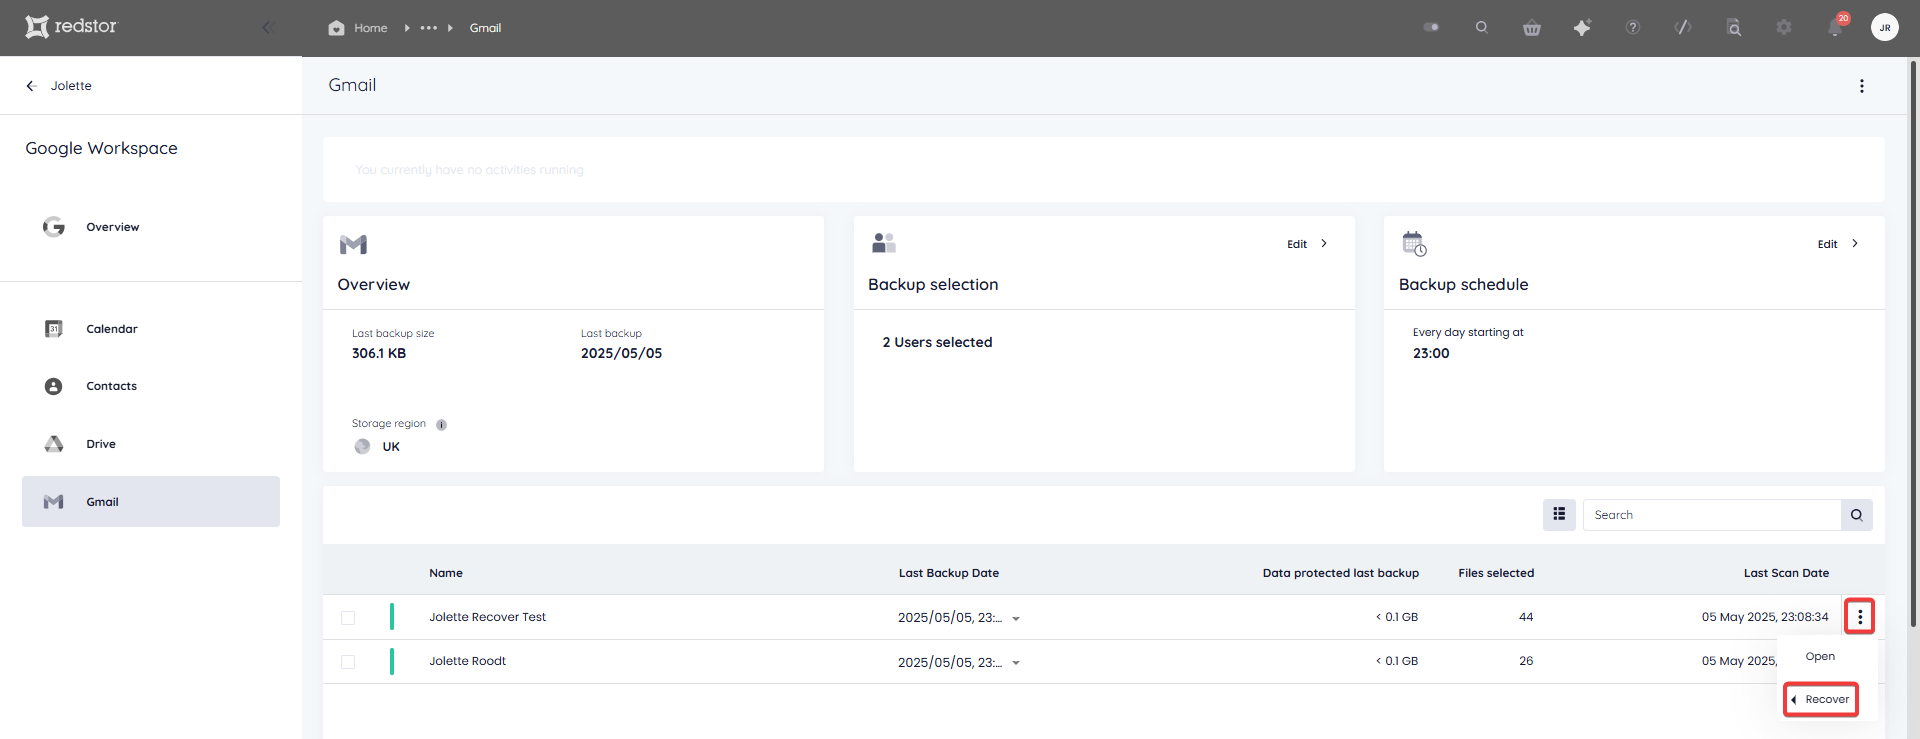
If you want to recover a specific user, use the Search function to find it.

Under Last Backup Date, select the backup you want to recover from.

Click on the user's menu icon on the right and go to Recover to see your options.
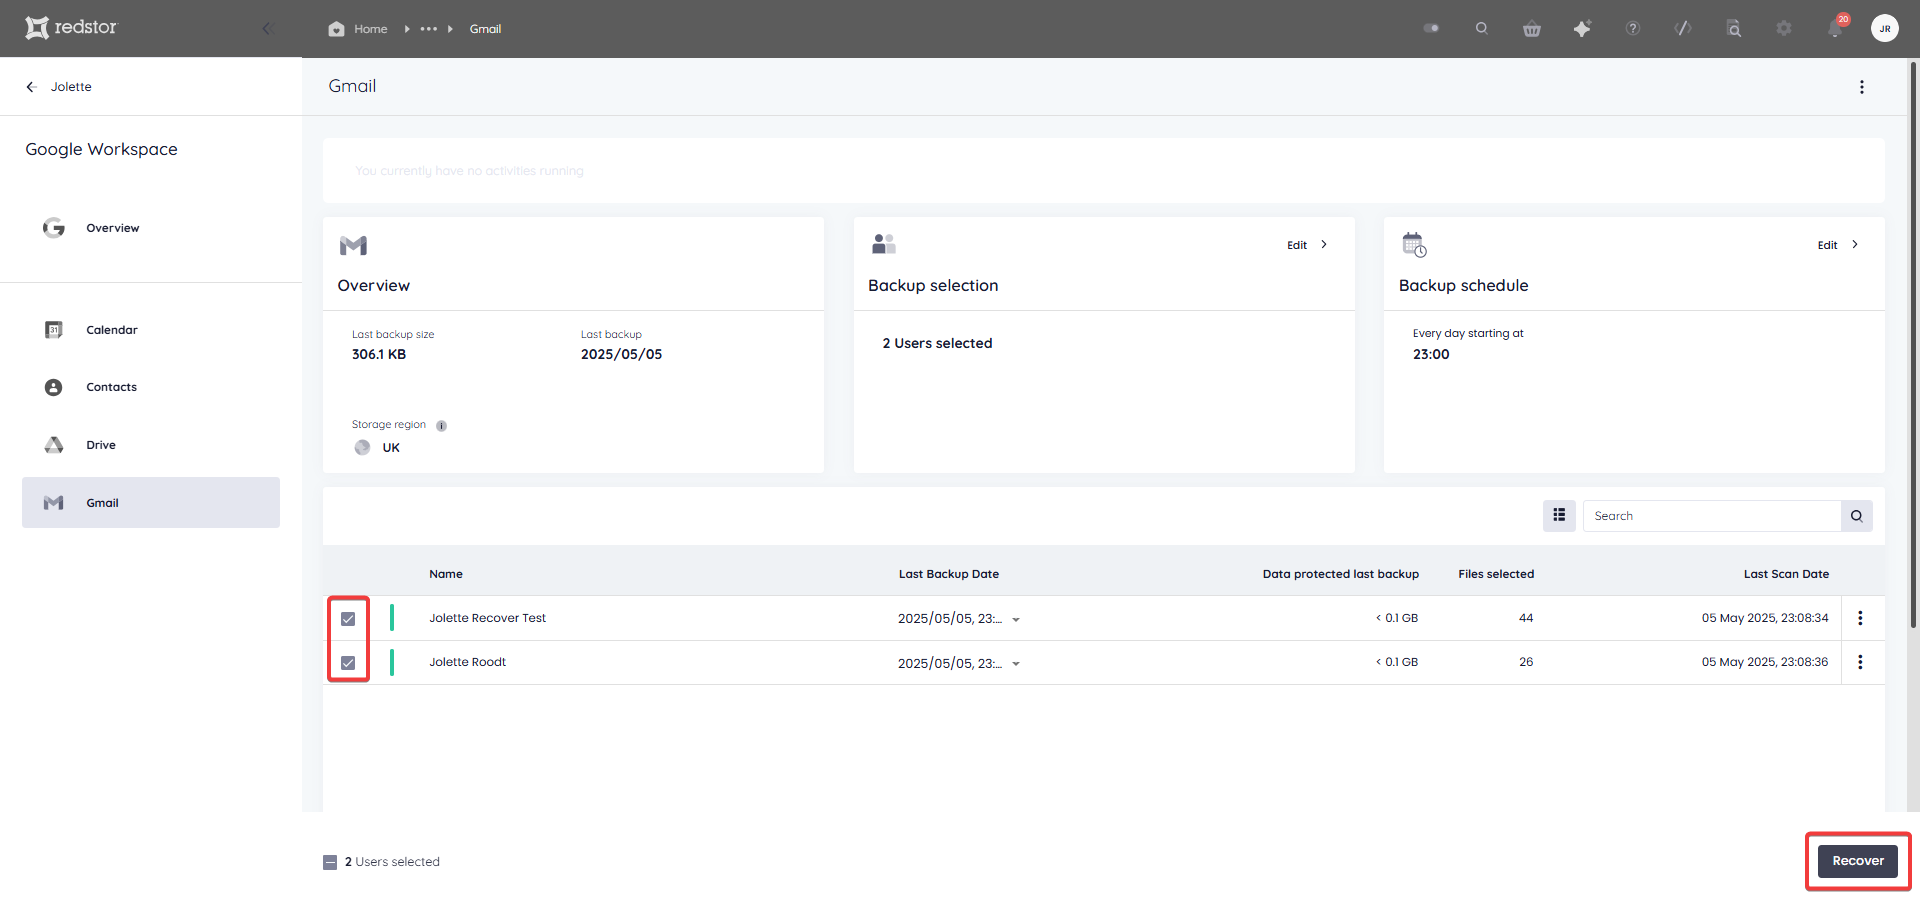
If you want to recover all data for multiple users, select the users and then select a backup date for each. You can select different backup dates for different users.
Note: If you need to recover multiple accounts, it is advised to recover them in bulk and not in sequence. It is not possible to queue a recovery while another recovery for the same backup set is in progress.
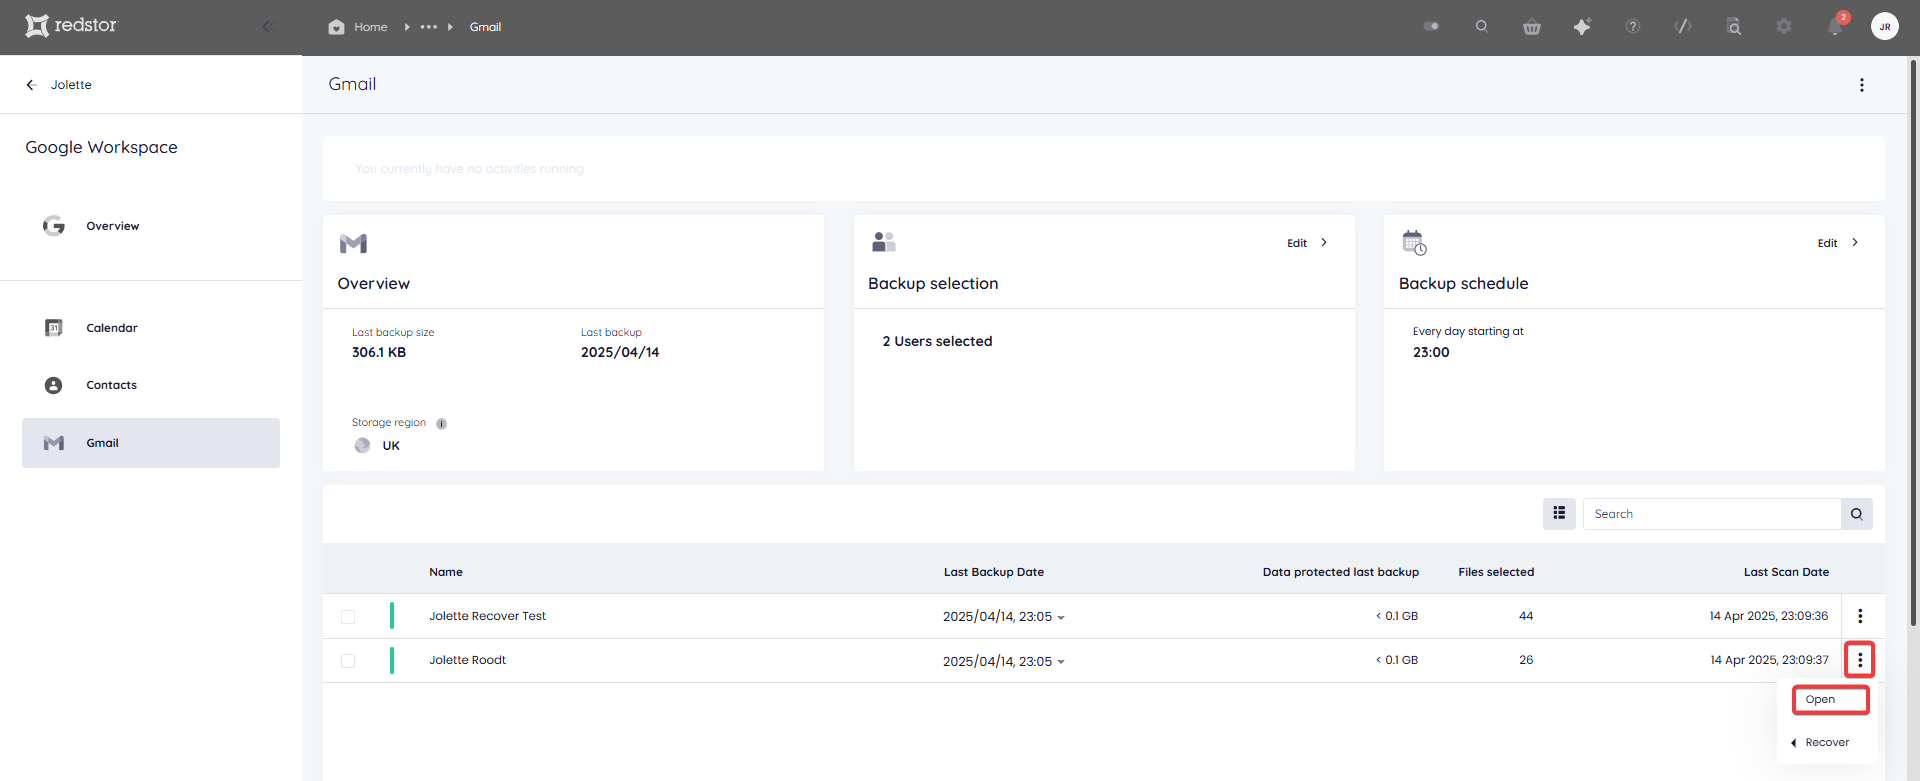
If you only want to recover one or more individual items from a mailbox, click on the account name to expand its contents. Alternatively, click on the menu icon on the right and go to Open.
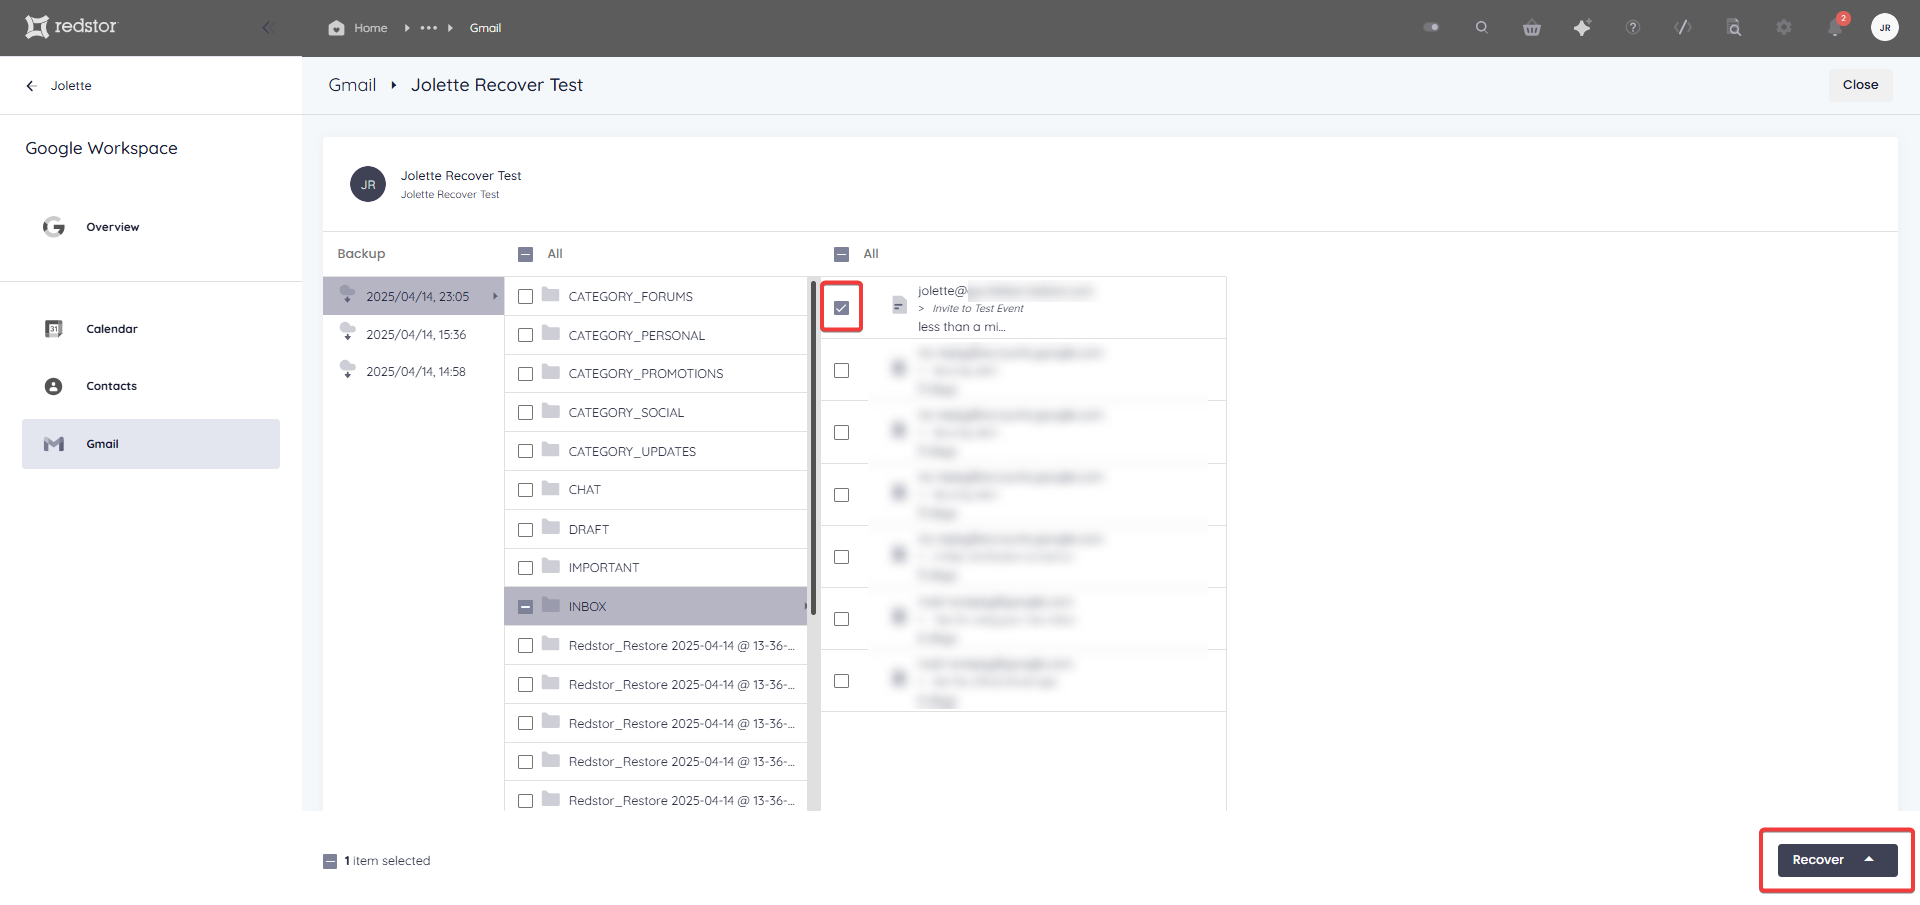
Drill down into the mailbox contents and select what you want to recover. When you are ready, click Recover.
2. Select the recovery method
Next, you will need to choose how you want to recover your selected data.
- Different account recovers the items to a folder named Redstor Restores in another Gmail mailbox. You will need to specify the mailbox you want to recover to. If you need the contents to be recovered to a newly created mailbox, please reach our to our support team for assistance.
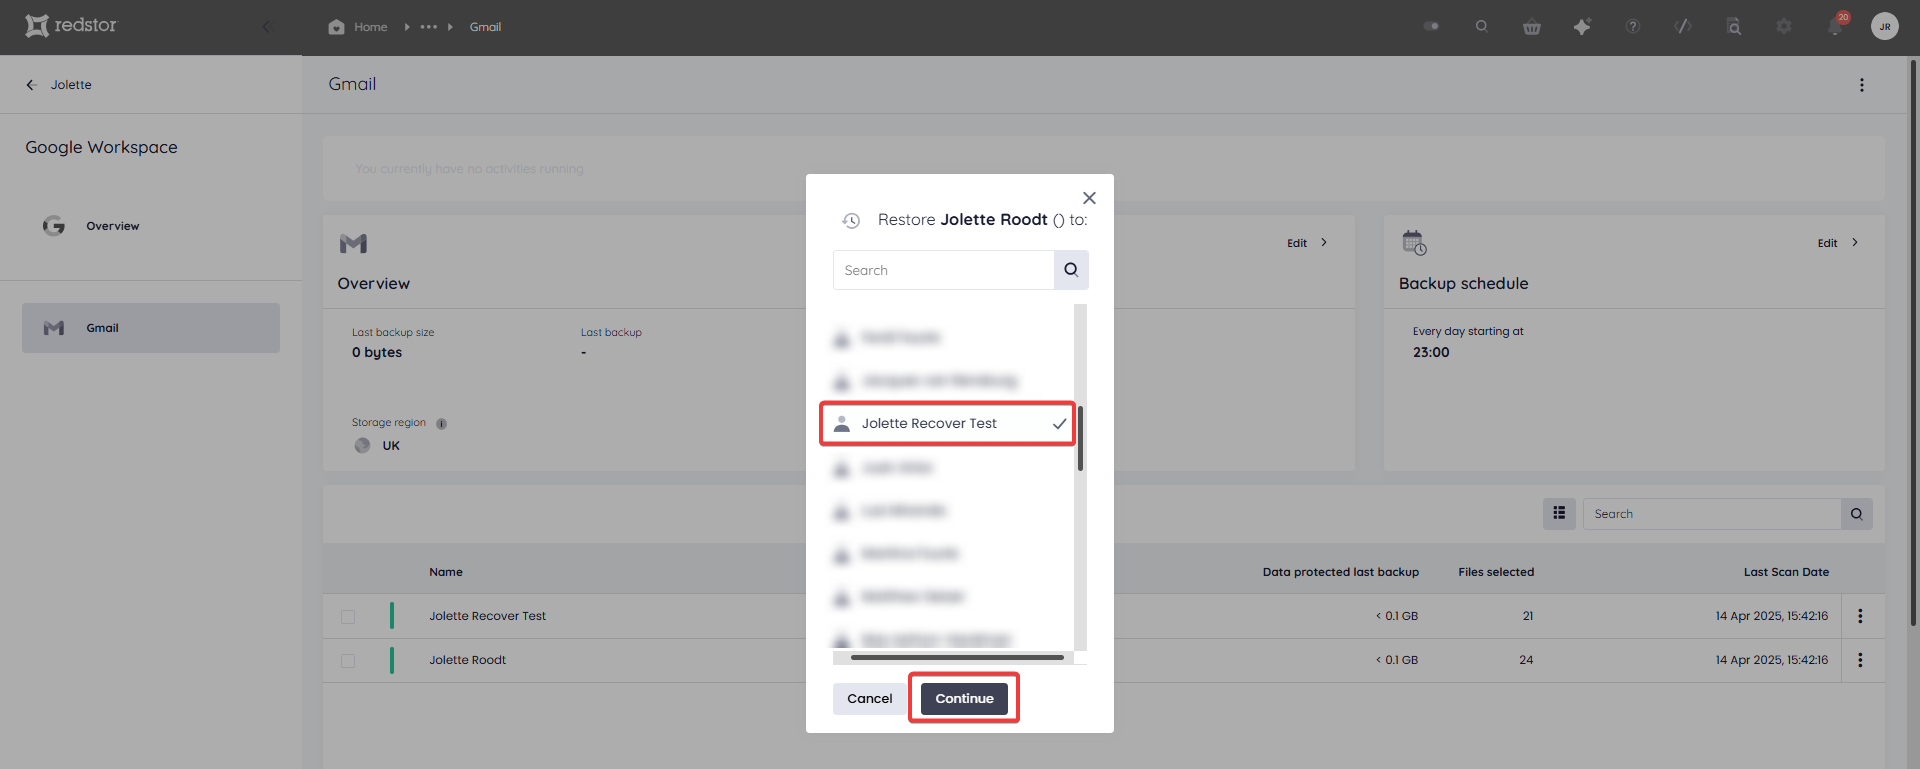
- New folder recovers the items to a folder named Redstor Restores in the original mailbox.
3. Proceed with recovery
After choosing a recovery method, you will need to authenticate with your RedApp user through a one-time pin.

You will also need to authenticate with an appropriate Google Workspace user (super admin).

You will see a series of notifications at the bottom of the page to show that the restore has been initiated. A progress bar will also appear at the top of the page.
Note: Recovery, especially for large mailboxes, may take a long time. This is because the entire backup selection needs to be indexed on the backend before it can be restored. Please wait for recovery confirmation before proceeding. Do not cancel the recovery and retry, as this will not speed up the process.
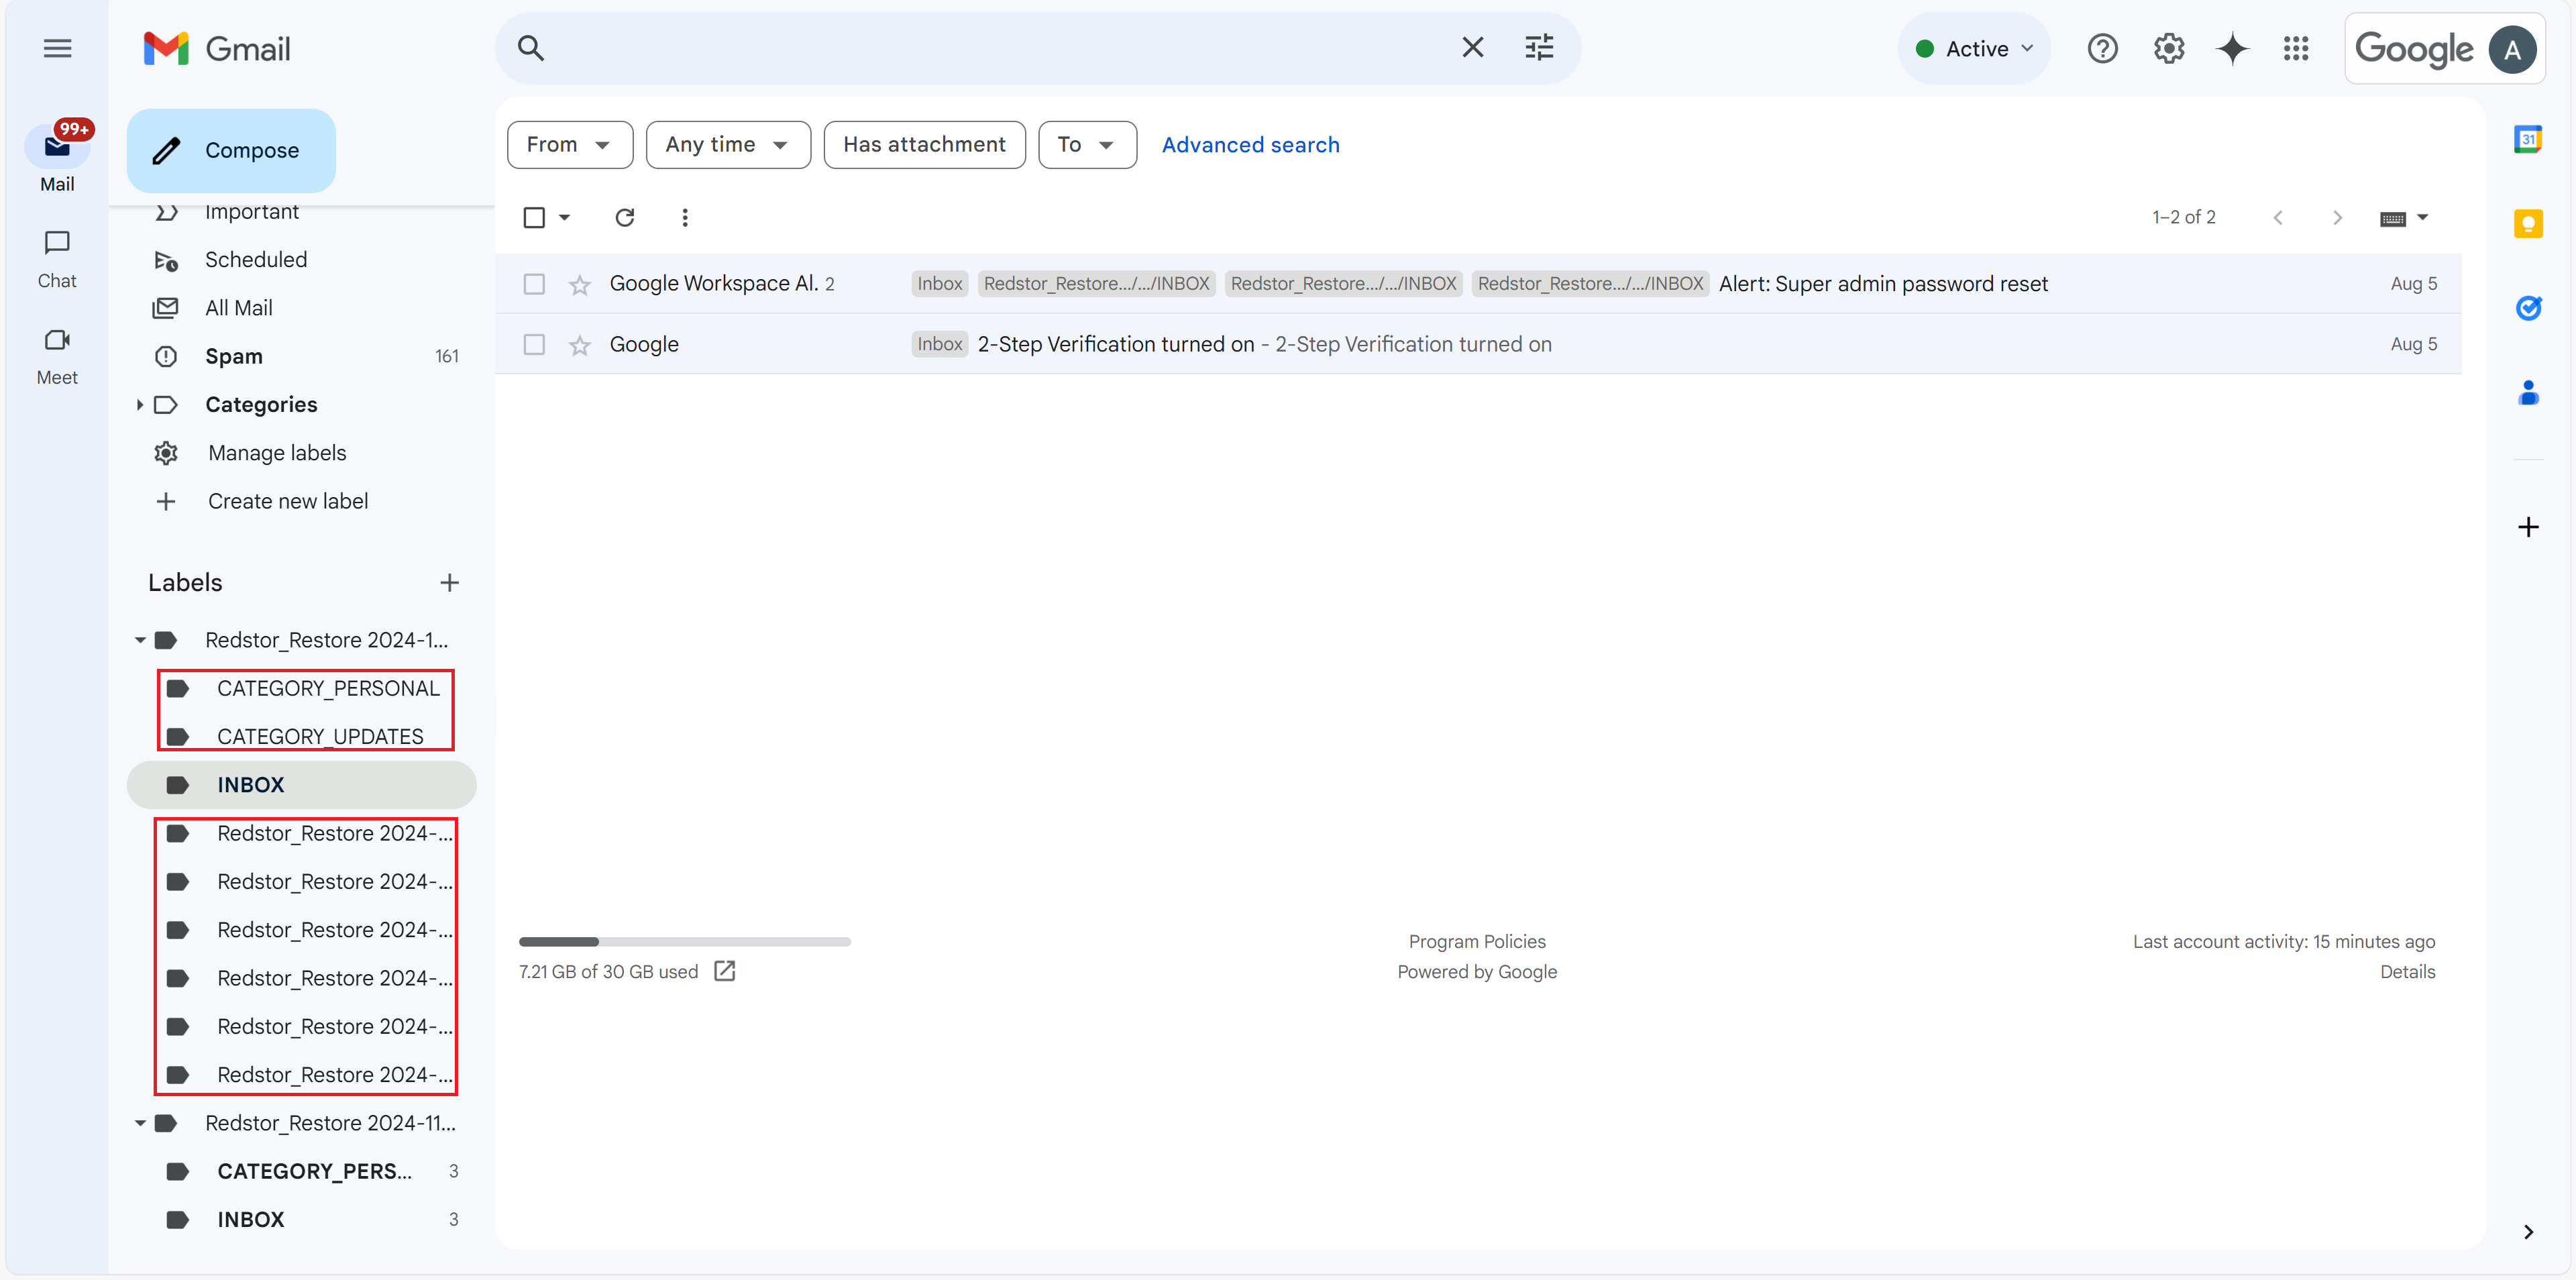
Your recovered items can now be found in a folder named Redstor Restores appended with the backup date's timestamp.
Note: The folder/s into which the emails are restored, are based on the labels assigned to the emails. If an email has been assigned multiple labels, it will be restored to multiple folders. These emails are not duplicates and should not be deleted.
How to delete a backup set
Note: This will delete all backed-up data for this backup set. This can only be undone within the first 336 hours (approximately 14 days) after deletion. To request an undelete, please log a ticket with our support team.
1. On the home page for the backup set, click on the menu icon at the top right and go to Remove.

2. Confirm the deletion by clicking Remove. If you need to cancel the deletion, close the dialog box.

3. Authenticate with your RedApp user to proceed with the deletion.

How to change a backup set's name
1. On the home page for the backup set, click on the menu icon at the top right and go to Rename.

2. Enter the new name for the backup set and click Update. To cancel, close the dialog box.

Was this article helpful?
That’s Great!
Thank you for your feedback
Sorry! We couldn't be helpful
Thank you for your feedback
Feedback sent
We appreciate your effort and will try to fix the article