In certain use cases, such as when managing large volumes of machine or server backups, there are actions that cannot currently be executed from the RedApp. For these, you will need to install our Storage Platform Console to communicate directly with our Storage Platform. Note that the Console can only be installed on Windows operating systems.
Read on for step-by-step instructions on how to install the Console.
Page contents
Installing your Console
1. Go to our Latest downloads page. From the Storage Platform Console section, download the .exe installer file.
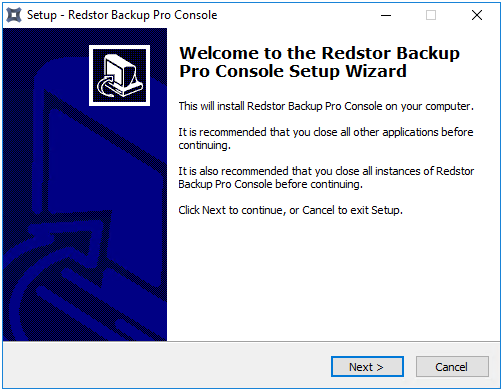
Once downloaded, run the file. This will launch the Setup Wizard. Click Next to begin the installation setup.
2. Select an installation location for the Console.

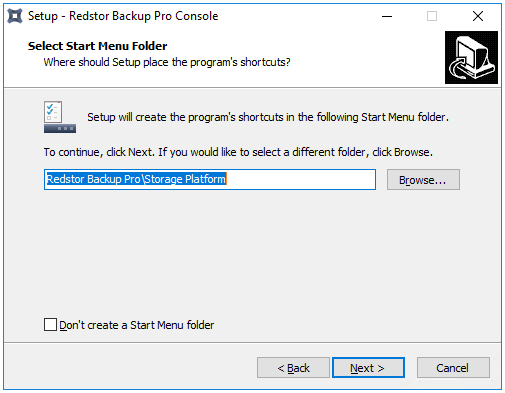
3. Select (or decline) a Start Menu location for the Console.
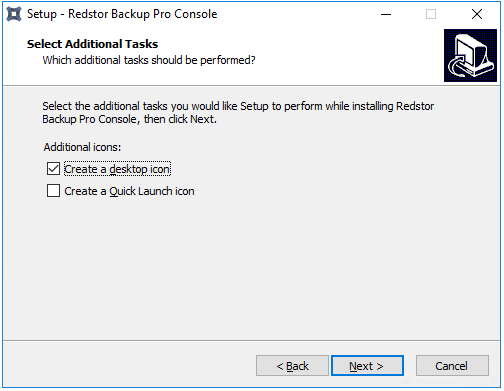
4. Indicate whether a desktop icon should be created.
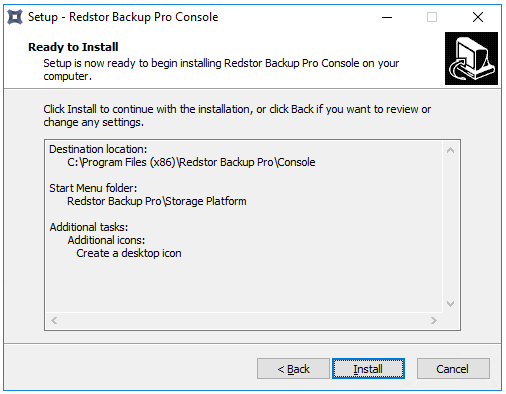
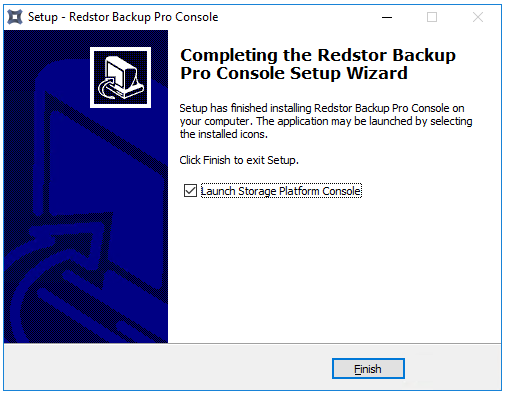
5. Click Install, wait for the installation to complete, and then click Finish to close the wizard.
Note:
- To access the Console in future, type “Console” into the Start Menu or use the desktop shortcut.
- When installing the Console on macOS, you will need to grant Full Disk Access to Redstor before you can complete the installation. To do this, go to Security & Privacy > Privacy > Full Disk Access.
6. Once the Console is installed, you can use it to connect to a Storage Platform (via the AccountServer) or directly to a MirrorServer.
Connecting to a Storage Platform
The first time you launch the Console, an Add Storage Platform dialog box will appear.
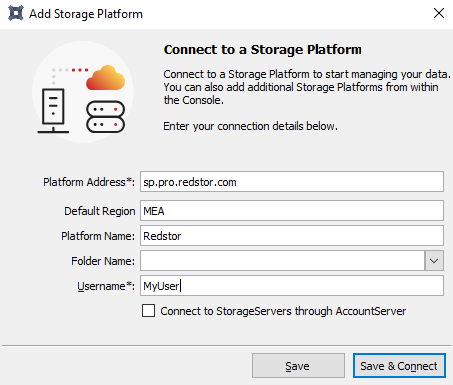
Complete the fields as follows:
Platform Address | sp.pro.redstor.com (us.pro.redstor.com for United States users) |
Default Region (optional) | [your region - APAC, Europe, MEA, UK or USA] |
Platform Name (optional) | Redstor |
Username | [your username as created by your administrator - if you are a new Console user and the only administrator, please reach out to our support team] |
Click Save and Connect. Alternatively, to add multiple AccountServers to the connection list without having to connect to each AccountServer, simply click Save.
Note:
- To add another AccountServer at any time, simply open the Console and go to Connections > Add Storage Platform.
- Should you ever need to reinstall the Console, enter the same information as above to reconnect.
7. If preferred, you can change your password at this point by going to Tools > Change Password. Once the password has been changed, you can restart the Console and reconnect using the new password.
Was this article helpful?
That’s Great!
Thank you for your feedback
Sorry! We couldn't be helpful
Thank you for your feedback
Feedback sent
We appreciate your effort and will try to fix the article