PAGE CONTENTS
Introduction
Our FSR to Azure agent restores your data by creating a virtual machine in Azure and then doing a bare metal recovery (BMR) to that virtual machine. Restoring in this way has two main benefits:
- cost savings (since the data does not need to be transferred to and from Azure), and
- improved performance (since the data does not need to be transferred via a local machine), especially if the recovery is initiated from a Storage Platform that is also in Azure.
Note:
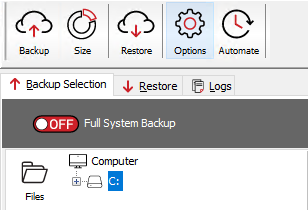
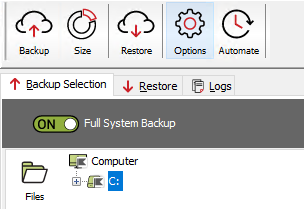
- To recover an entire system, you need to have a Full System Backup (FSB) of that data. Full System Recovery (FSR) can only be performed from a backup date on which an FSB completed. To enable FSB, switch on the radio button in your ESE Agent. The button will turn green.
- When enabling FSB on an Azure Virtual Machine with a temporary disk, we recommend excluding the temporary disk from the backup selection. Read more on Microsoft's knowledge base here.
- To restore to Azure on Linux, see Article 1281.
- To restore to Azure using the command-line, see the Target parameter in Article 1184.
- For FSR to Azure limitations and troubleshooting, see Article 1234.
Requirements
You will need to have the Storage Platform Console installed. You can download the latest version from our Latest downloads page and follow the steps in our installation guide to set this up.
Three connections are important for FSR to Azure:
- Local machine to Storage Platform - used for authentication and to select the backup to be restored to Azure
- Local machine to Azure - used for creating resources, including the VM in Azure
- Azure to Storage Platform - used for restoring the actual data to the target machine in Azure (this connection requires the SP to be publicly available from Azure).
To recover to Azure, you will therefore need the resources listed below.
1. An Azure account with access to an Azure subscription (the user is required to authenticate with credentials that have permission to create resources in this subscription).
2. A resource group for the virtual machine to restore into.
3. A storage account in the subscription listed above.
- We use the storage account's Azure region and resource group for creating the new VM.
- Note that even if the VM was created directly in Azure (e.g. a managed disk), which does not typically require a storage account, you will need a storage account to restore.
- The storage account must allow connections from the current client IP. Public network access for the storage account should be set to either Enabled from all networks or Enabled from selected virtual networks and IP addresses, with the client IP address added to the firewall allow list.
4. A storage account container in the storage account listed above, which is used:
- As a target for uploading the restore agent and for configuration into Azure. The resulting blob is then converted into a Managed Disk, which is used for starting the restore.
- As temporary storage for the the WinPE bootstrapper image. This is because we need to copy the image into the correct Azure region before we can convert it into a Managed Disk.
5. A virtual network for the machine to run on (which can connect to the internet), and a virtual network subnet - these are needed to connect out to the Storage Platform during the restore, and for virtual machine connectivity when the restore is completed.
The following user roles are required:
- The user adding the first set of VMs from a subscription (i.e. deploying a service principal) needs to have the Owner role on that subscription.
- The user adding subsequent VMs from a subscription with existing protected VMs (i.e. that already has an Azure service principal deployed) only requires subscription access.
- The user performing a restore requires at minimum subscription access to the source VM.
How to recover to Azure
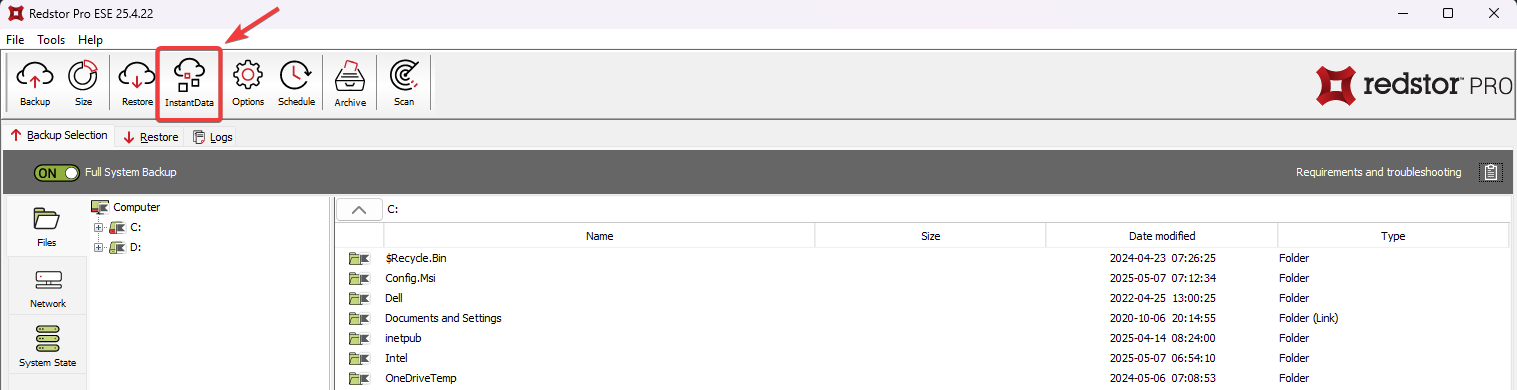
1. Access InstantData in one of the following ways:
From the ESE agent on the machine you want to recover
Click on the InstantData button at the top of the interface.
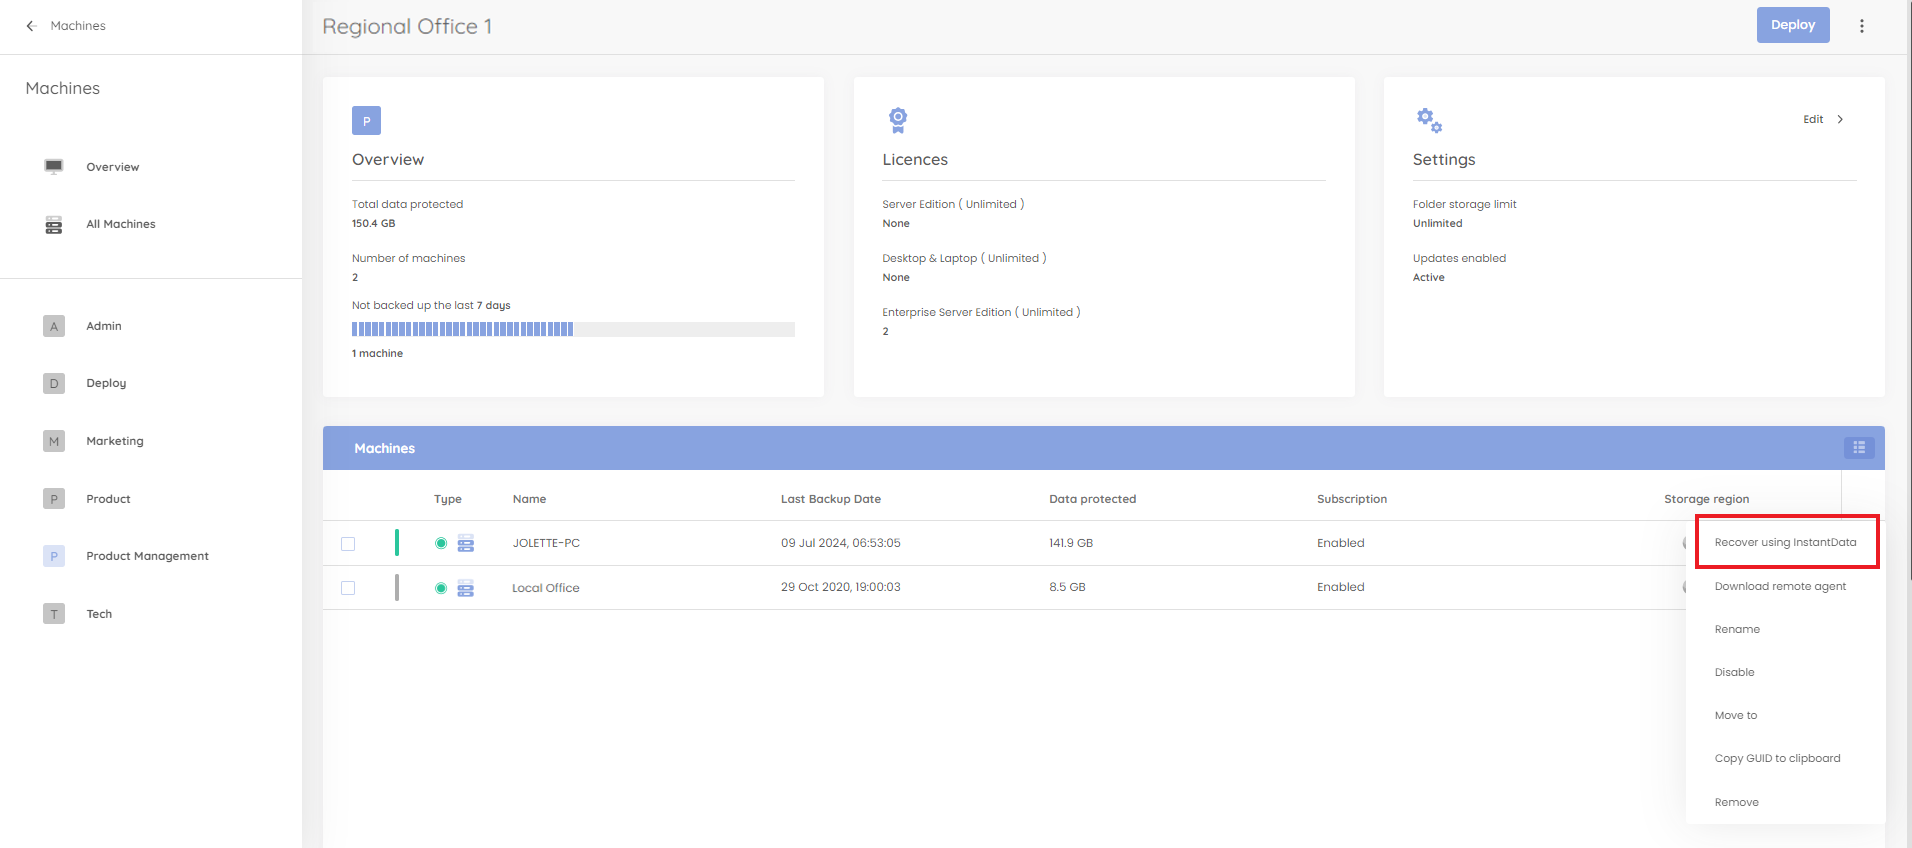
From the RedApp
Locate the machine you want to recover. Expand its menu on the right, and click Recover using InstantData.
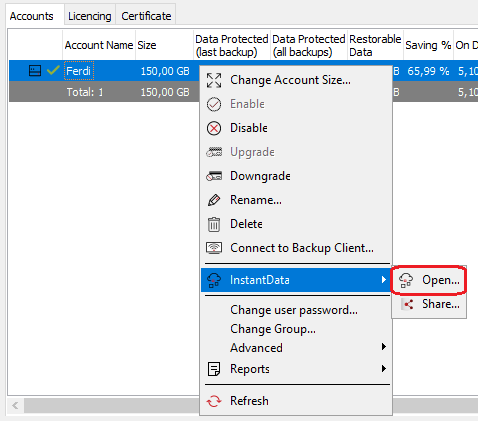
From the Storage Platform Console
Right-click the name of the account that your want to recover and click InstantData > Open.
2. Select Full System Recovery and click Download.
3. Run the downloaded .exe file. In the dialog that appears, enter your encryption key and click Next.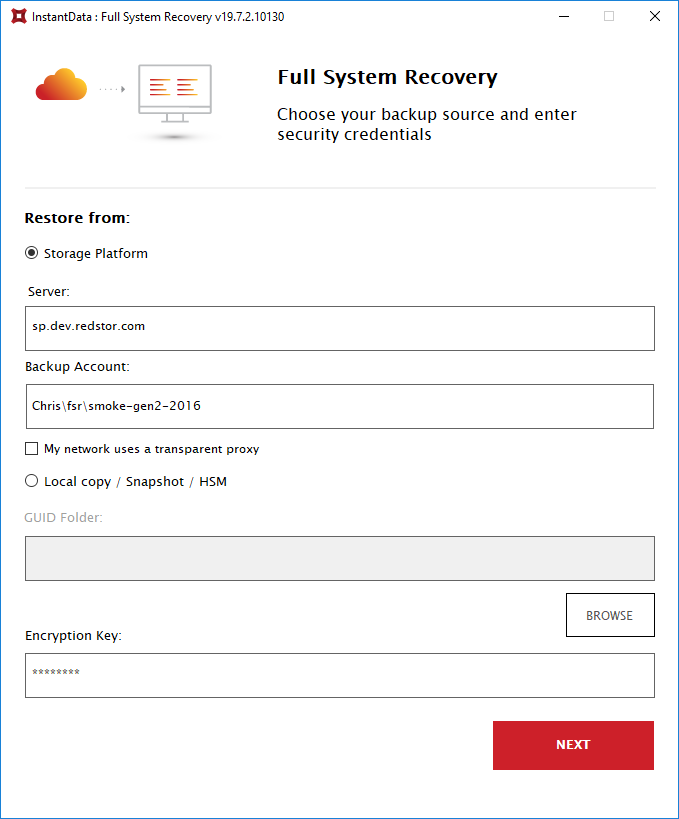
4. Under Target, select Azure.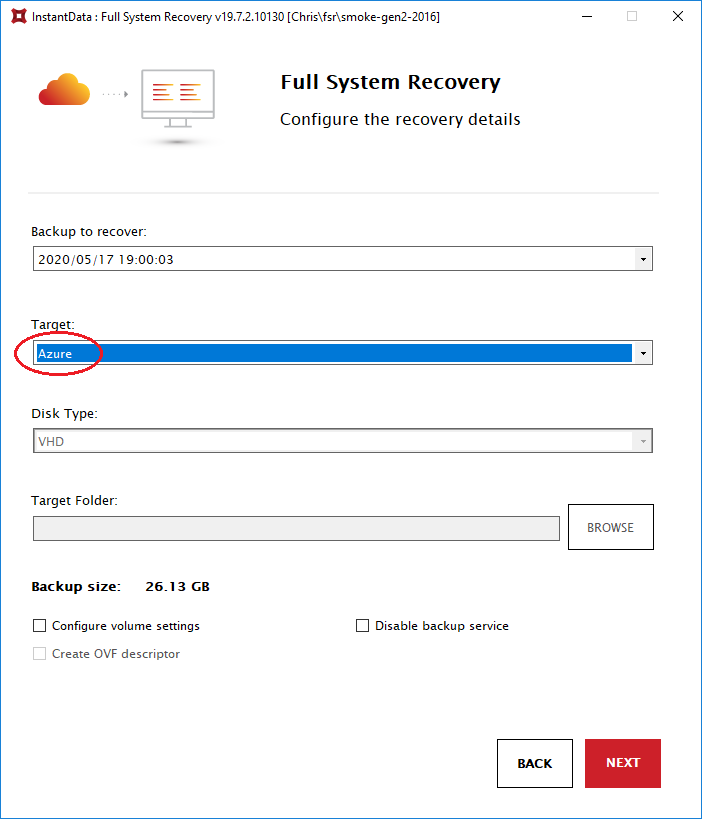
In the case of a test recovery, it is best practice to tick Disable backup service, as this prevents having two machines (original and recovered) connected to the same backup account.
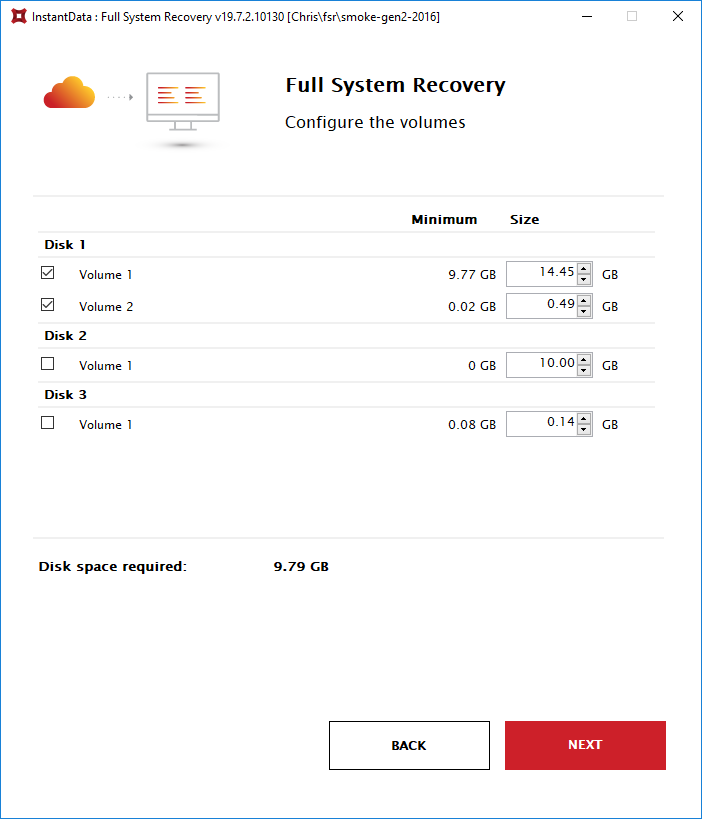
To restore only the OS drive, tick Configure volume settings at the bottom, select all the OS disk volumes from the list that appears, and click Next.
5. Select a Microsoft account from the list that appears, and sign in. Accept the permissions.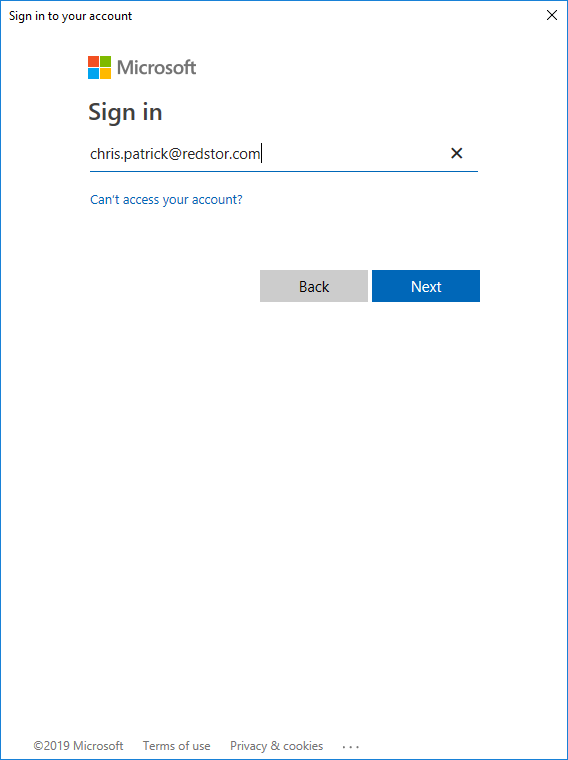
6. Provide your hypervisor details and click Next.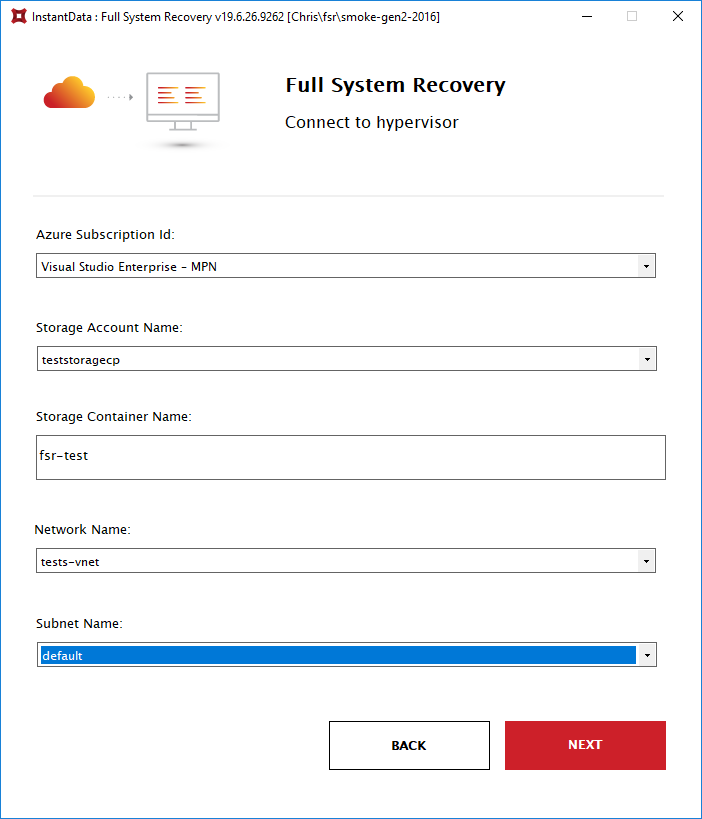
7. Check your recovery details and click Start. The restore process will begin.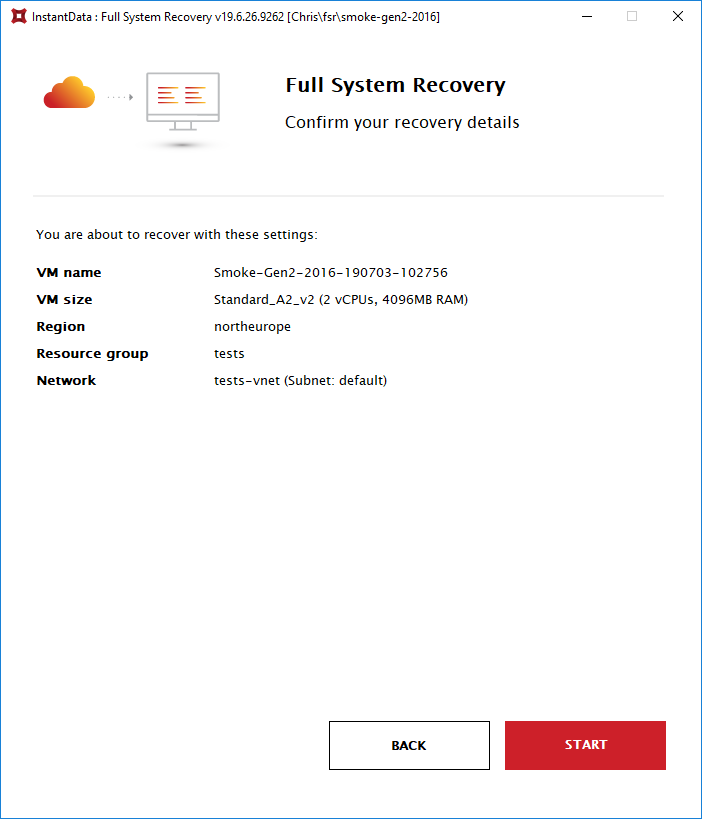
8. Restore progress will be shown in the workspace and the progress bar.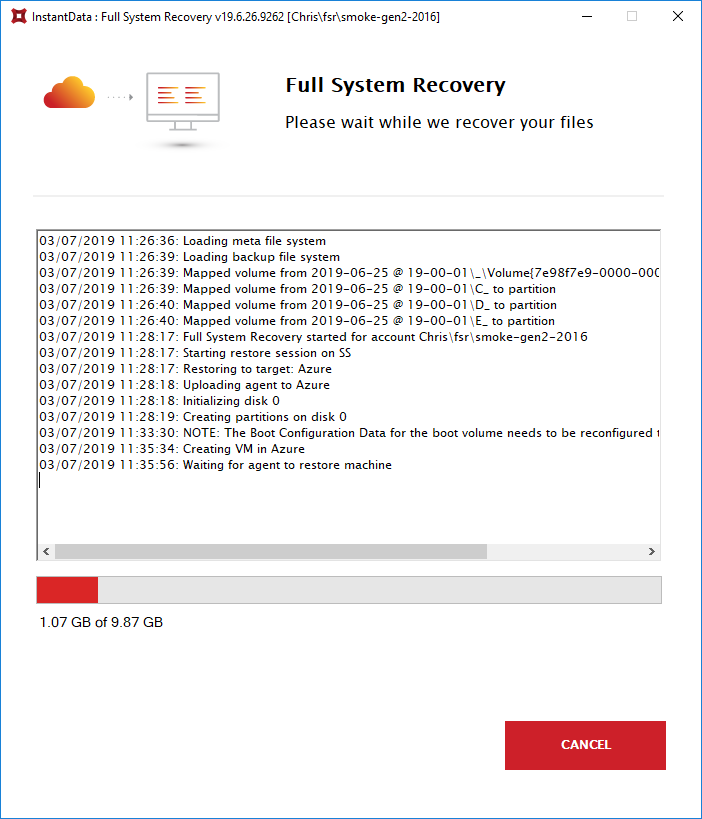
9. When the restore completes, the newly created virtual machine will be stopped. Restart it from the Azure portal to access your data.
Post-restore Windows RDP
Because of the number of ways of configuring connectivity to a restored VM, the VM will initially only be assigned a private IP. Note that this only applies to Windows machines. There are two options if you want to RDP to the restored machine (these links will take you to the Microsoft knowledge base):
Troubleshooting
The user performing the restore does not have sufficient access to the resource group the VM is restoring to, or the storage account container name is incorrect. The storage account firewall or network settings may also not be configured to allow the current client IP address.
Was this article helpful?
That’s Great!
Thank you for your feedback
Sorry! We couldn't be helpful
Thank you for your feedback
Feedback sent
We appreciate your effort and will try to fix the article