One of the ways in which you can use InstantData is to do a Bare Metal Recovery (BMR) directly to new physical (or virtual) hardware.
InstantData BMR is intended for recovery to a machine identical to that on which the backup was run. If, as a fallback, you are restoring to a different type of machine, booting may fail because certain required drivers are not present in the installation. In these cases, we recommend building a fresh machine and restoring the system state instead.
PAGE CONTENTS
- Supported partition types
- Before you begin
- Instructions
- Contents of the script and additional parameters
- Troubleshooting
Supported partition types
BIOS partitions
- Primary and logical partitions:
- NTFS
- FAT32
- EFI system partition
- Windows Recovery Environment
- Extended partitions
- Dynamic disks (Windows Logical Disk Manager) - will be converted into basic disks
- Primary and logical partitions:
GPT partitions
- Windows basic data partition
- NTFS
- FAT16/FAT32
- ReFS - will be converted to NTFS
- EFI system partition
- Dynamic disks (Windows Logical Disk Manager) - will be converted into basic disks
- Windows basic data partition
Note: For more on recovering dynamic disks, see Article 878.
Before you begin
You will need:
- Access to the Storage Platform Console or the machine's ESE agent
- An external storage device (e.g. USB flash drive)
- A target machine or VM (of the same disk size as the original machine, or larger) that is connected to the internet
- Windows installation media with the required .NET version or higher (please see our requirements matrix here). If you do not have this, you can create a free Windows 10 installer with the latest .NET version from Microsoft's download page. The installation media does not need to match the OS of the backup.
Because BMR is only supported for recovery to a physical machine that is identical to the original machine, the correct mode needs to be enabled within the system boot configuration when you perform the recovery. For example, if the original machine was backed up in BIOS mode, the system boot configuration should be set to BIOS when the recovery is performed. Likewise, if the original system was backed up using UEFI, the system boot configuration should be set to UEFI.
Instructions
1.Access InstantData in one of the following ways:
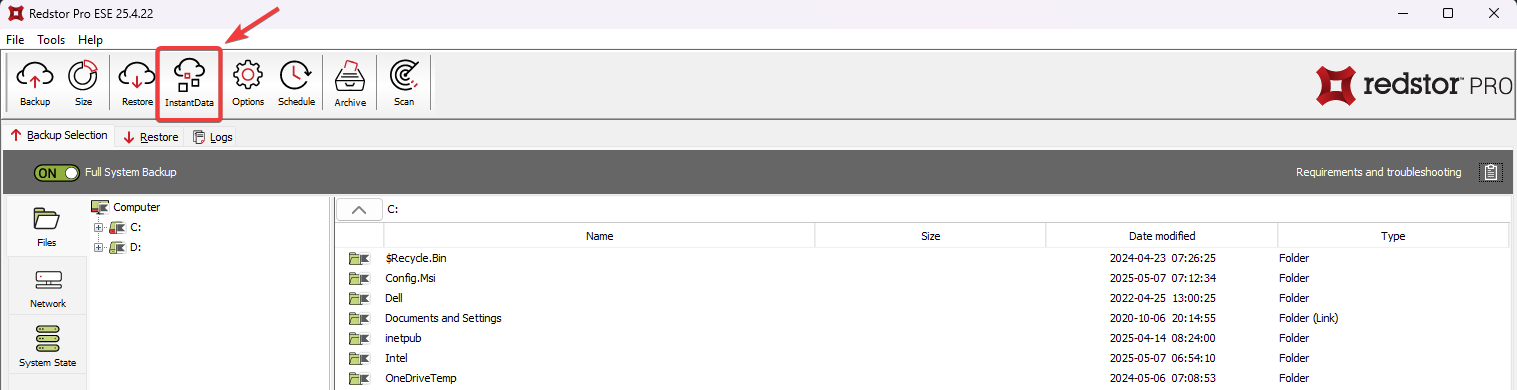
From the ESE agent on the machine you want to recover
Click on the InstantData button at the top of the interface.
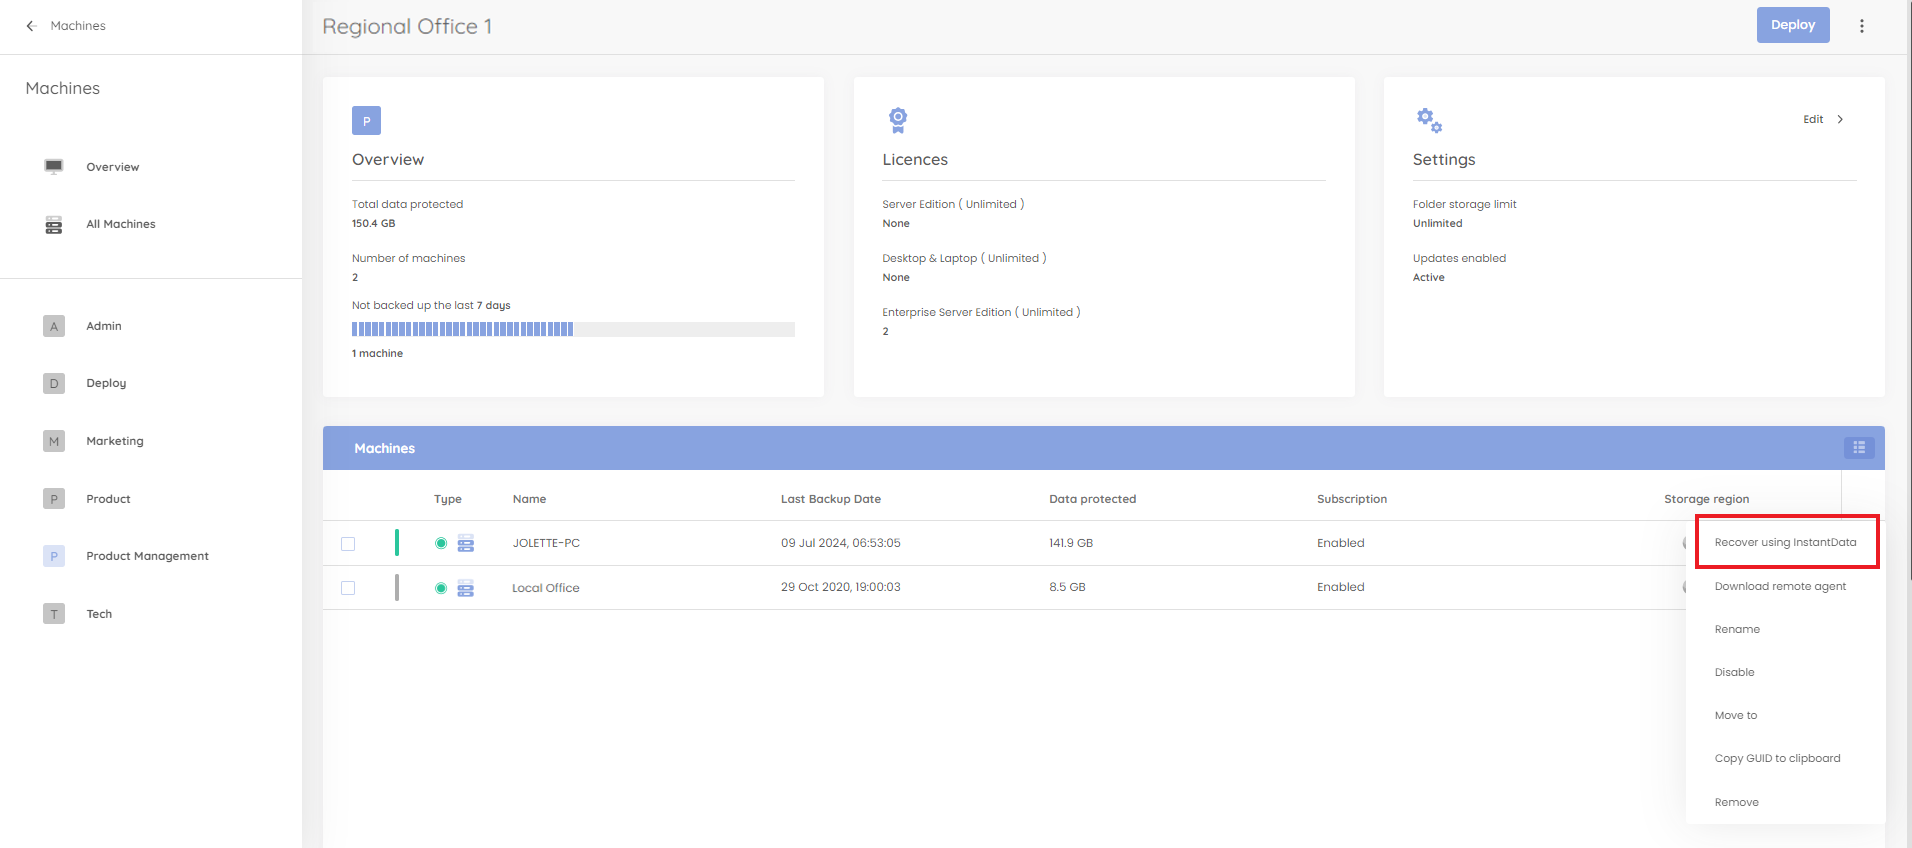
From the RedApp
Locate the machine you want to recover. Expand its menu on the right, and click Recover using InstantData.
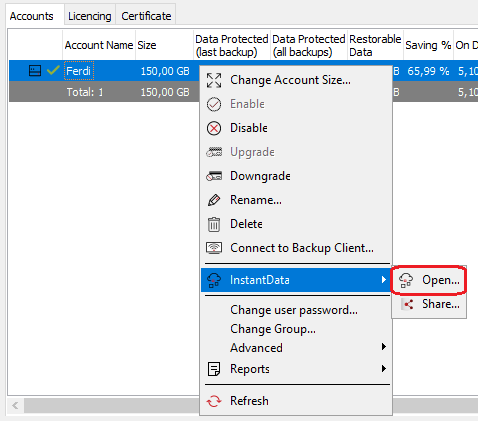
From the Storage Platform Console
Right-click the name of the account that your want to recover and click InstantData > Open.
2. Select Full System Recovery and click Next.
3. Run the downloaded executable.
4. On the first screen, enter your encryption key.
Note: BMR may not work from a local copy.
5. Select the backup you want to recover. Under Target, select Bare metal recovery package. Under Target Folder, specify a location where the recovered system should reside. In the case of a test recovery, it is best practice to tick Disable backup service, as this prevents having two machines (original and recovered) connected to the same backup account.
6. Configure the disk mapping if required. Disk mapping is used to map a specific source disk to a different target disk, e.g. to map disk 2 from the backup to disk 3 in the restore, and disk 3 in the backup to disk 2 in the restore. When you're ready, click Start.
The FSR application will download the InstantDataBMR.exe file and a script file to the target folder. The script contains the required information to run the BMR from a command line.
7. Copy the content from the target folder to the external storage device. Connect this device to the target machine, ensuring that the machine can read the device.
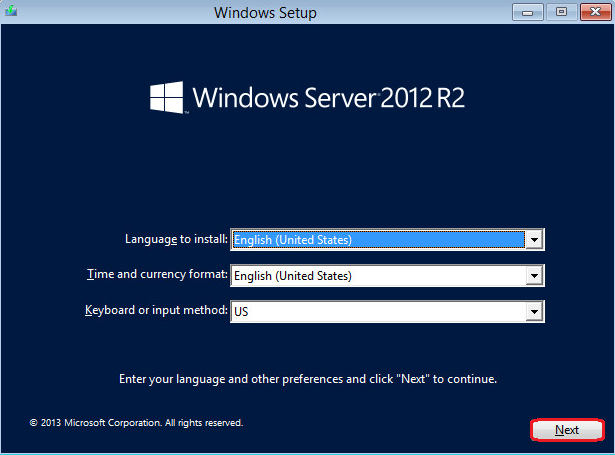
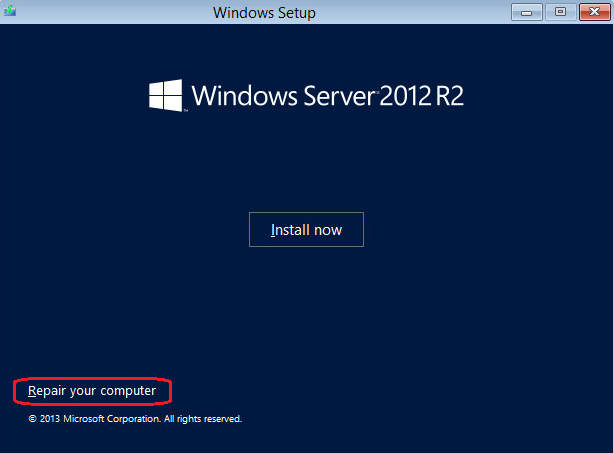
8. Start the target machine using the Windows installation media. When presented with the screen below, click Next.
9. Click Repair your computer.
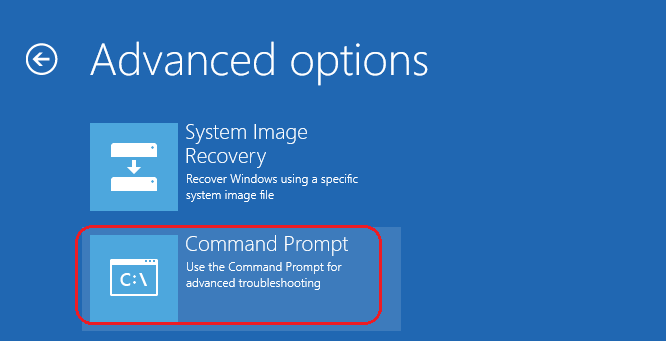
10. Select Command Prompt.
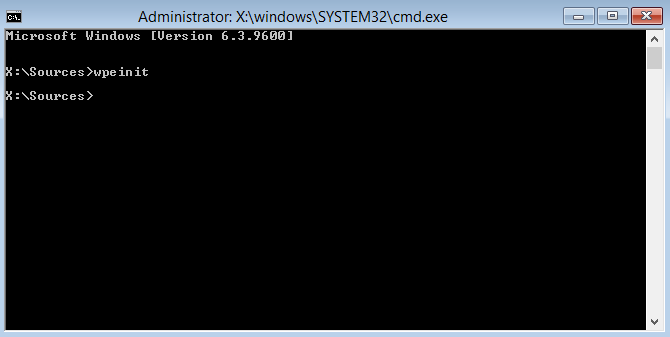
11. Run wpeinit to initialise networking. (It is also a good idea to run ipconfig at this point to ensure your IP address can access the Storage Platform.)
12. From the command line, run diskpart.
13. Run rescan to make sure the disk configuration information is up to date.
14. At the diskpart prompt, use list disk to list the attached disks.
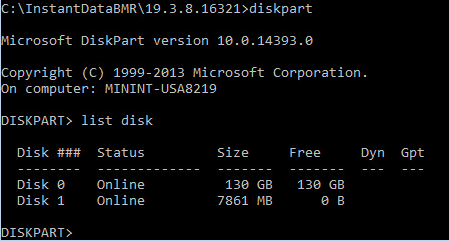
15. Note down which disk(s) are your restore targets. Here, Disk 1 is the USB key from which the restore is being run and so should not be modified.
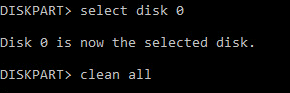
16. Select the disk to be cleaned using select disk and the number, e.g. select disk 0.
17. Enter clean all.
18. Locate the fsr.bat script on the external storage device and execute the script on the target machine. When prompted, provide your encryption key. See below for more information on the script and additional parameters.
19. InstantData will now start recreating your drives on the target machine. Once this process is complete, reboot your machine.
Contents of the script and additional parameters
The fsr.bat file automatically includes the following parameters obtained from the FSR application in the previous steps:
| -Server | Your StorageServer address. |
| -Port | Your StorageServer port number. |
| -Account | Your account GUID. |
| -Backup | The backup date to restore. |
| -Diskmap | Changes the order of the disks on the target machine from that on the source machine. E.g. -DiskMap=2:3,3:2 will map disk 2 from the backup to disk 3 in the restore, and disk 3 in the backup to disk 2 in the restore |
| -Volumes | Selects the volumes to restore. E.g -Volumes=1:1,1:2,3:1 will restore disk 1 volume 1, disk 1 volume 2, and disk 3 volume 1 |
For help and additional parameters, browse to the target folder and run the following:
E:\BMR_restore\FSR\InstantDataBMR.exe -help
If you encounter the error "The filename, directory name, or volume label syntax is incorrect", edit the script to remove the backslash from the -Data parameter (indicated in red below):
%~dp0\FSR\InstantDataBMR.exe -Data=%~dp0\Data -Server=ukdc1ss.pro.redstor.com -Port=443 -Account="xxxxxxxx-xxxx-xxxx-xxxx-xxxxxxxx"
-Backup=2023-04-19T10:00:04.0000000Z -DiskMap=0:1 -Volumes=1:1(0.25390625),1:2(0.015625),1:3(118.1533203125),1:4(0.8115234375)
The parameter -Data=%~dp0\Data should therefore be -Data=%~dp0Data.
Troubleshooting
Under certain conditions (e.g. in VMware), the disk presented to a machine may not be seen as empty of data when attempting an InstantData BMR. The error "Specified physical disk is not empty!" will be presented.

To resolve this, use diskpart to zero the disk, as follows:
1. From the command line, run diskpart.
2. Run rescan to make sure the disk configuration information is up to date.
3. At the diskpart prompt, use list disk to list the attached disks.
4. Note which disk(s) are your restore targets. Here, Disk 1 is the USB key from which the restore is being run and so should not be modified.
5. Select the disk to be cleaned using select disk and the number, e.g. select disk 0.
6. Enter clean all.
7. Once this has completed, do the same for any other disks required for the restore.
8. Type exit to quit diskpart.
The restore command can then be run as normal.
Was this article helpful?
That’s Great!
Thank you for your feedback
Sorry! We couldn't be helpful
Thank you for your feedback
Feedback sent
We appreciate your effort and will try to fix the article